Hand made cards are fun to make and make a lovely surprise for someone special!
Commercial cards are available everywhere and there is a huge assortment to choose from. However, if you are creative or crafty or have some time on your hands, then why not make your own and surprise someone!
Choose your supplies
Depending on what kind of greeting card you plan to make, you’ll need card stock or blank cards, envelopes, glue, scissors or a paper cutter, small decorations, paints, pencils, markers or sharpies.
I would recommend at least 200-250gsm card stock so that it’s nice and thick and can stand up well when folded in half. Alternatively, you can purchase blank cards and envelopes. If you are making your own from card stock, choose from these dimensions to trim as a guide:
- Square 14cm: 140mm high x 280mm wide
- Rectangle: 180mm high x 240mm wide
- A5: 210mm high x 297mm wide (A4)
- A6: 148.5mm high x 210mm wide (A5)
If possible, use a paper cutter to keep the lines of your card straight and even. I have the Jielisi Disk Cutter and find it good for trimming cardstock. After trimming, fold in half and rub down on the crease to flatten it. Now you have your base card ready to start. Coloured or metallic finish card stock can look great too!


Choose a design
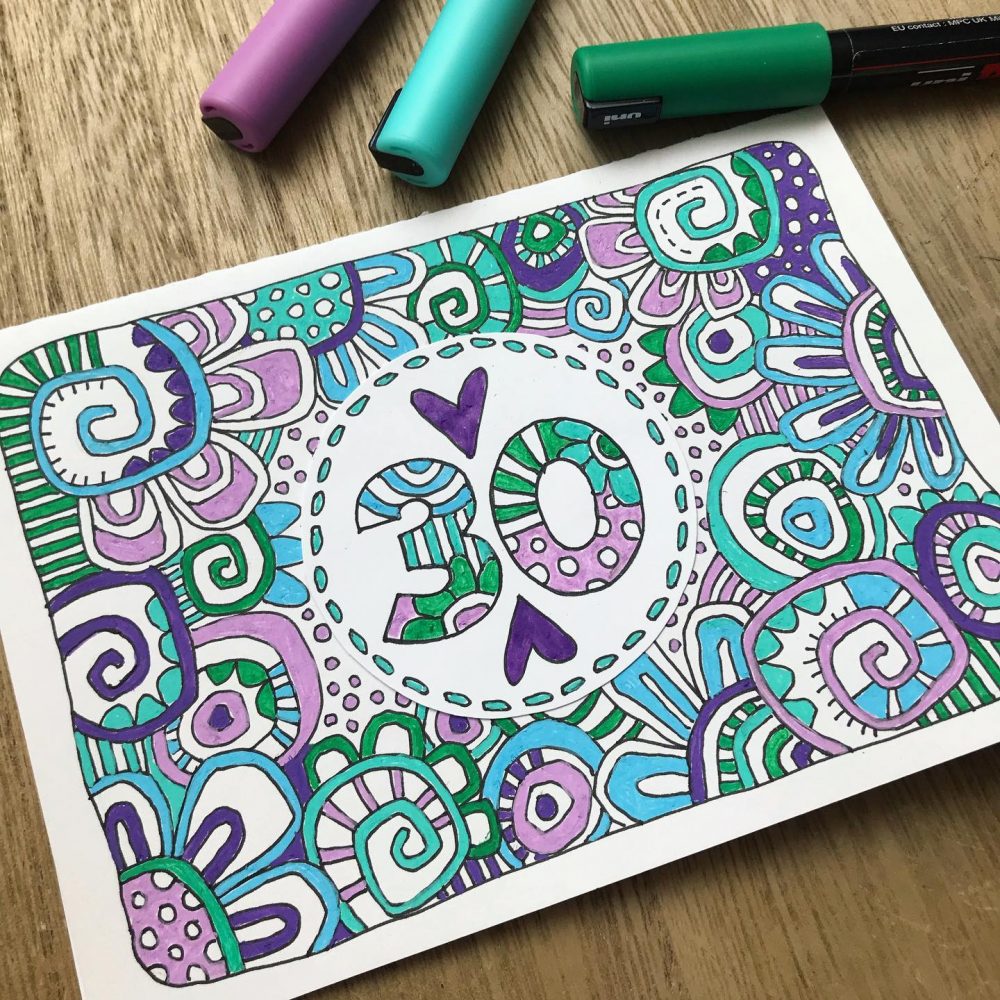
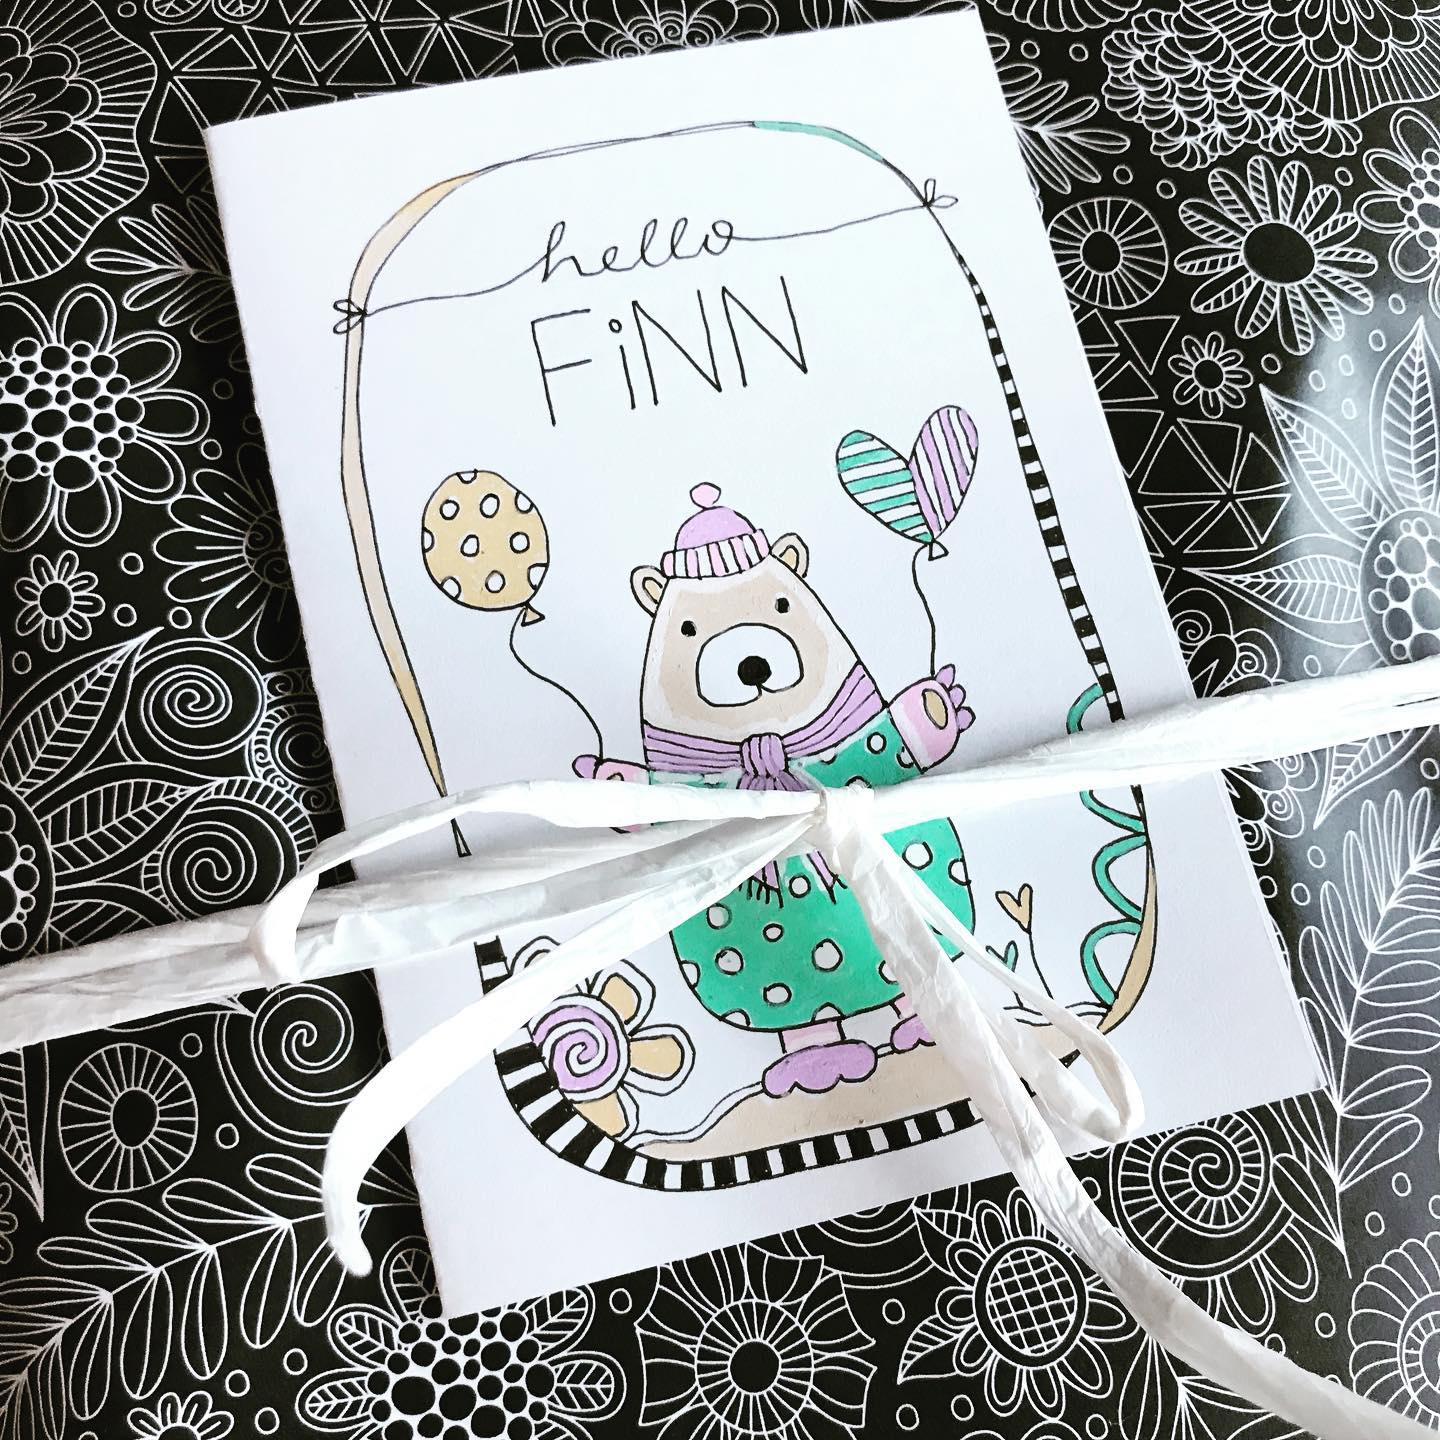
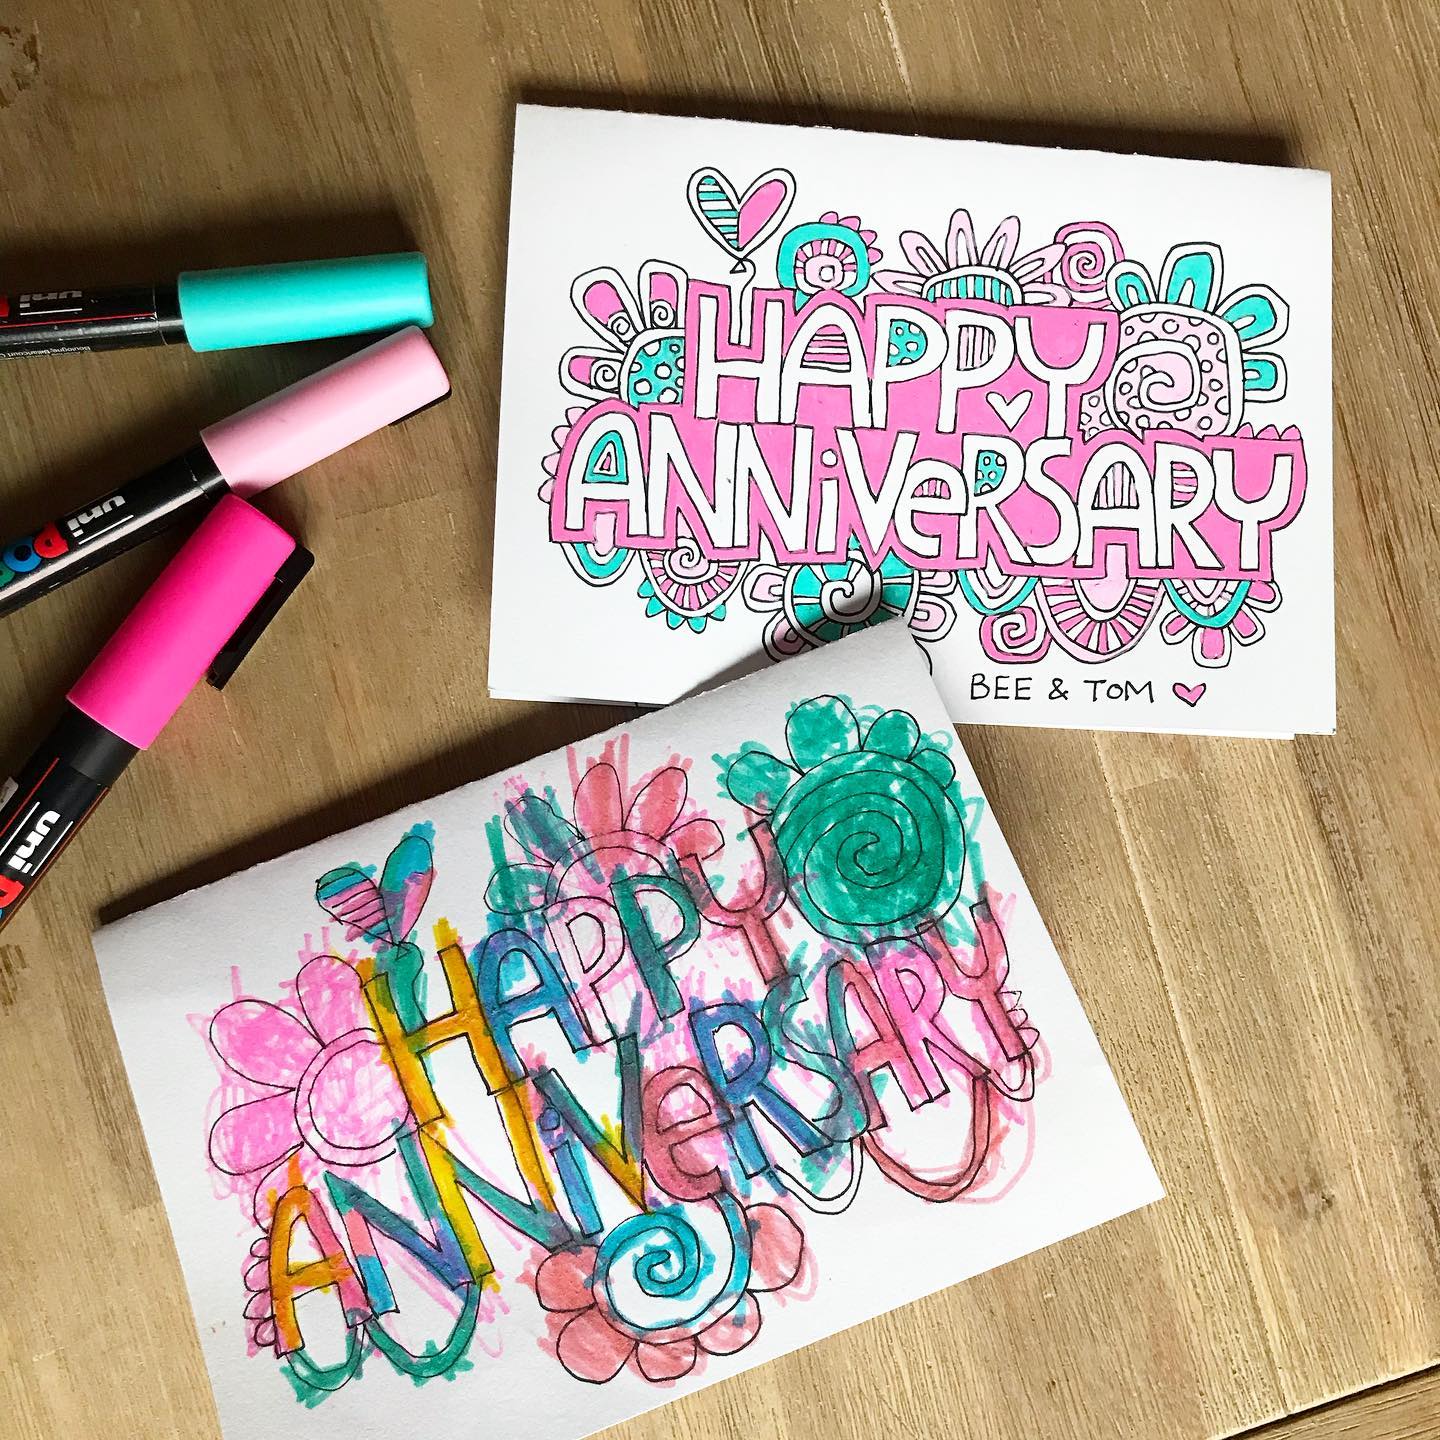
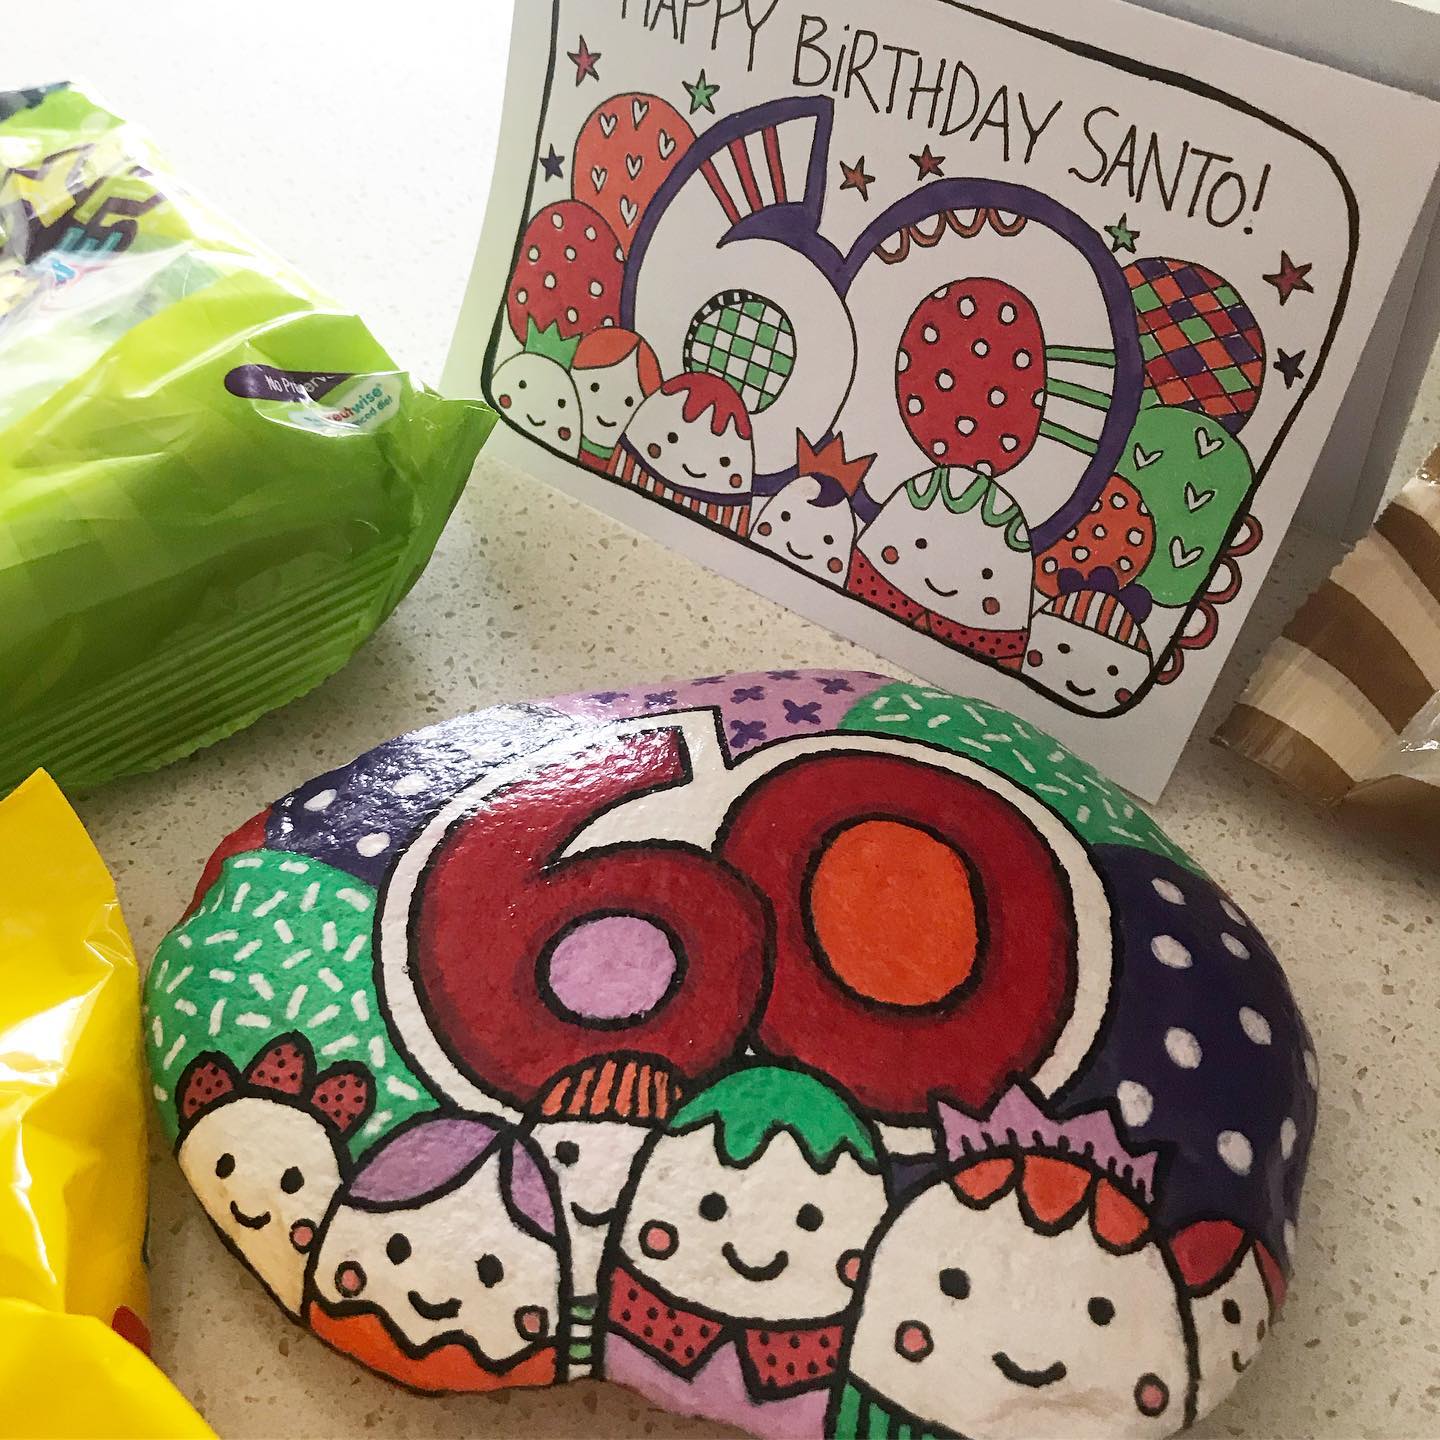
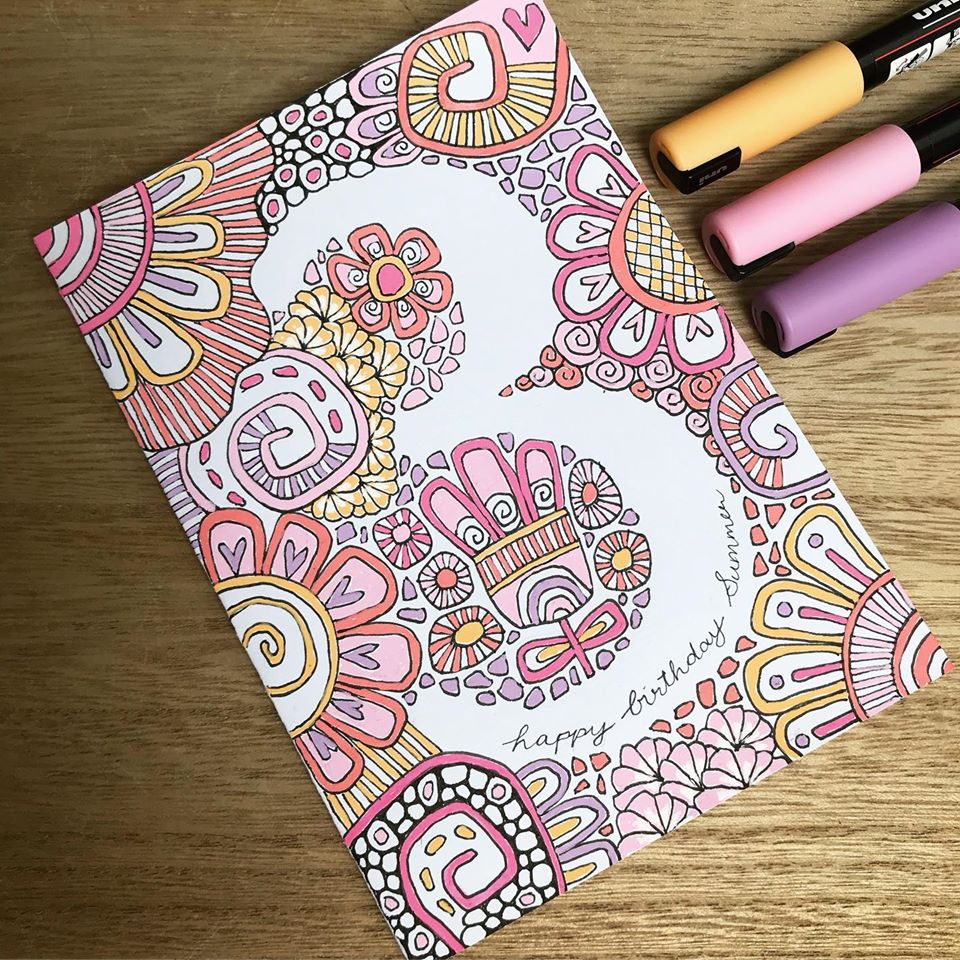
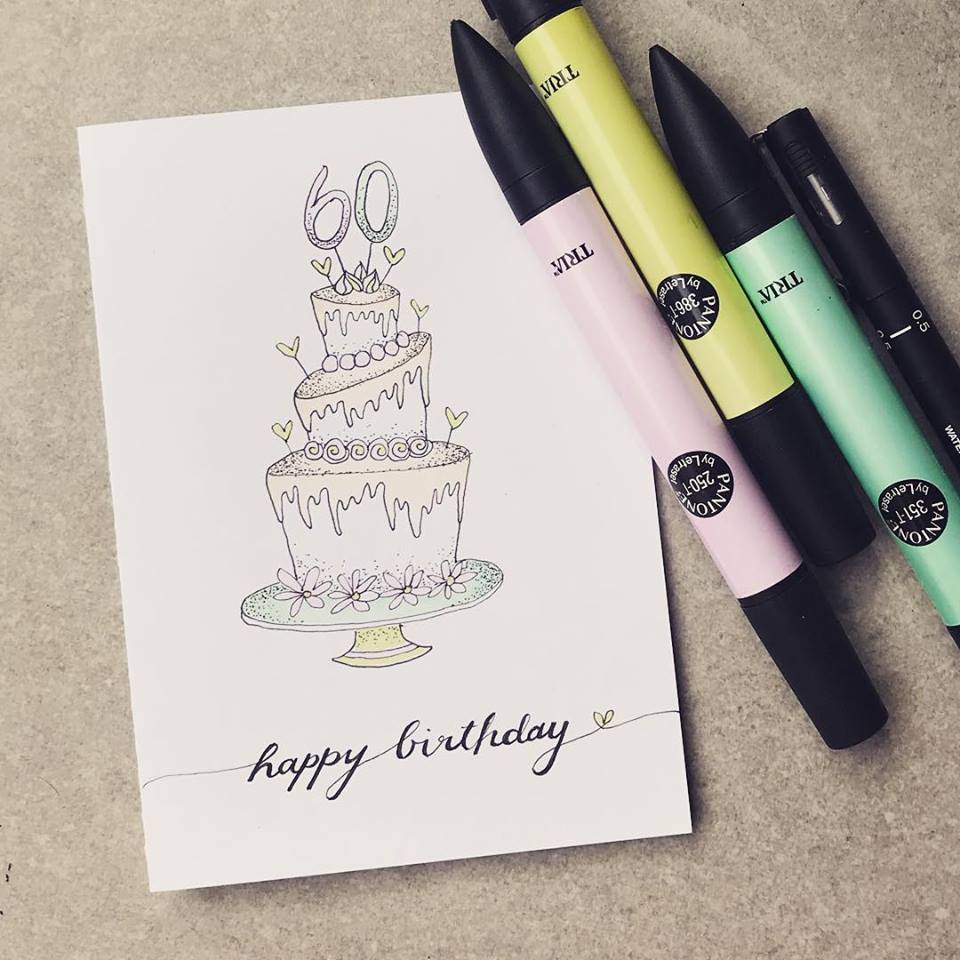
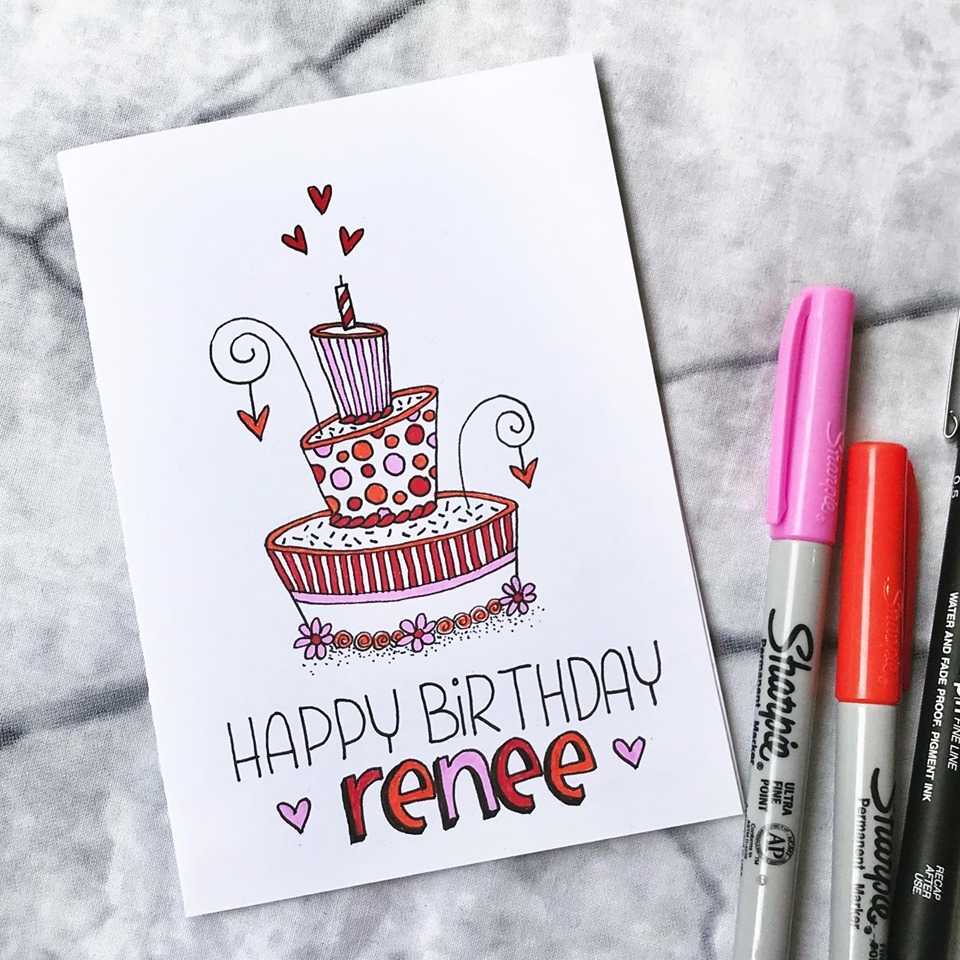
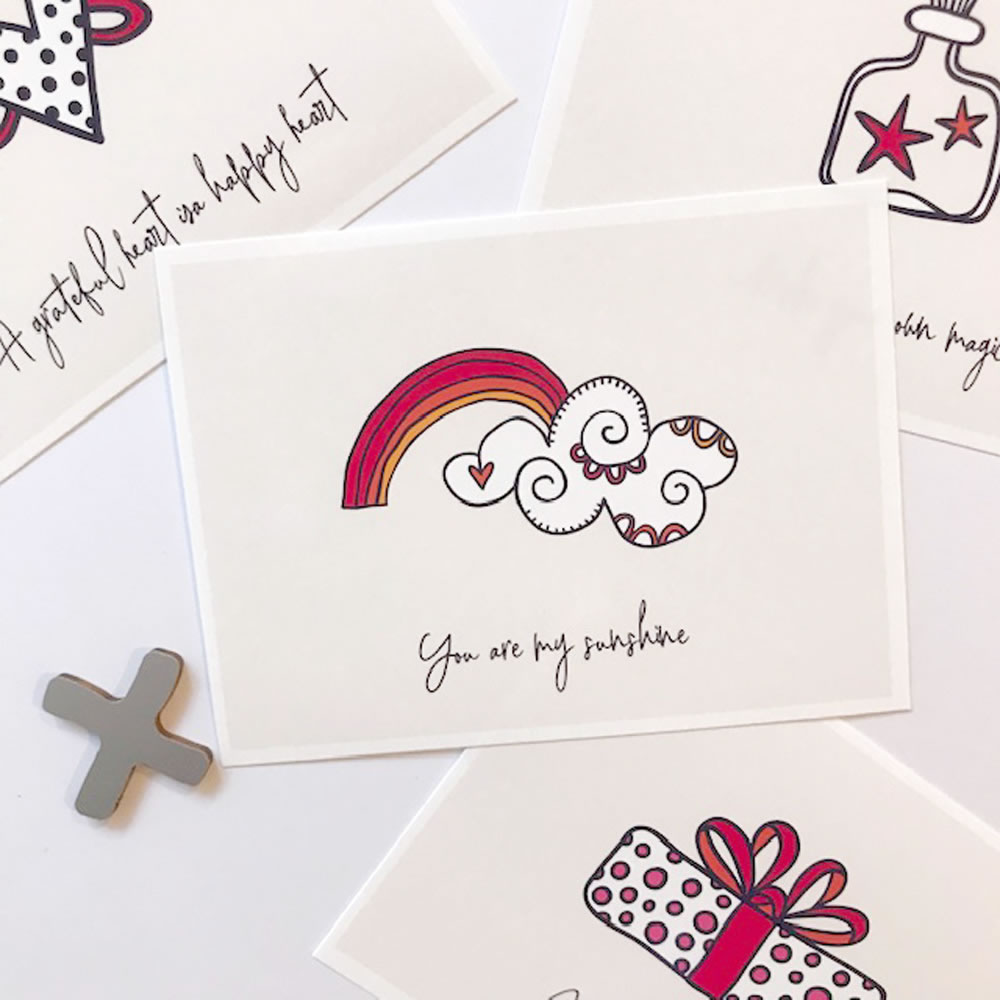
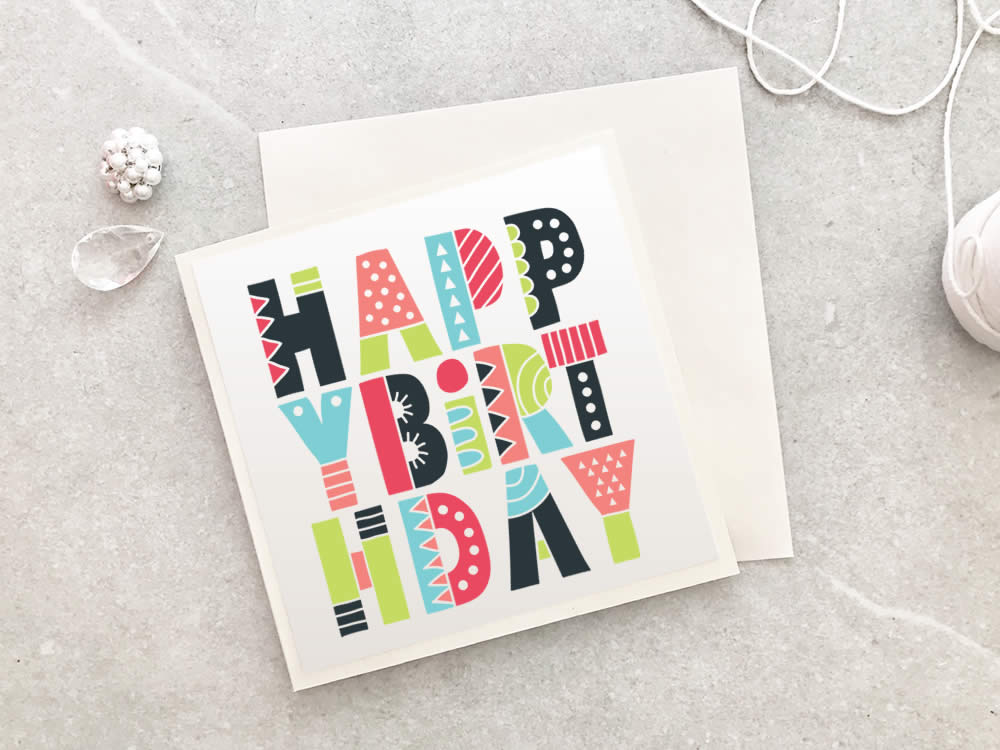
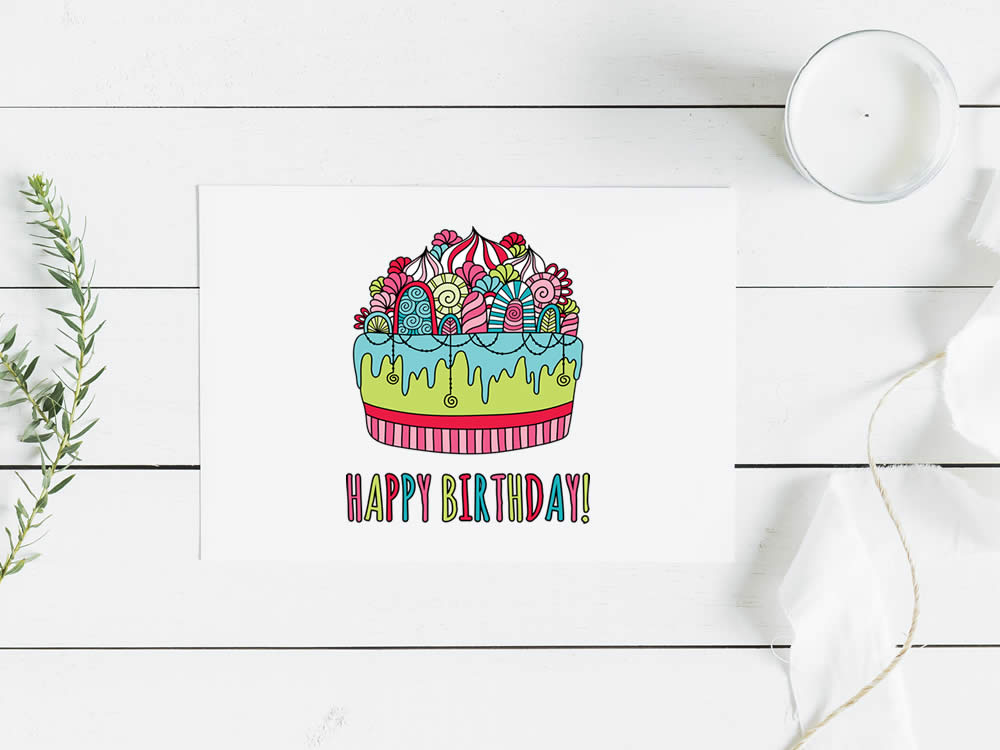
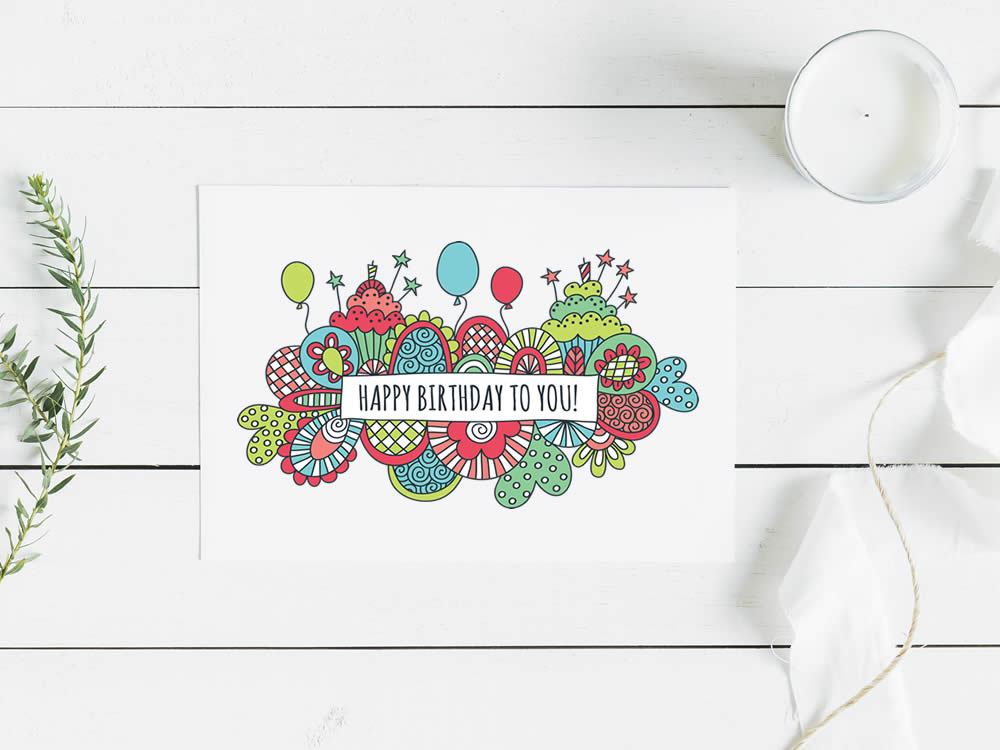
Once you have your base card you can use your imagination to create your design. You might like to draw or paint a design or use stamps, washi tape, lettering, collage, or scrapbooking techniques. Have fun with it and try to decorate the card to match the theme of the greeting.
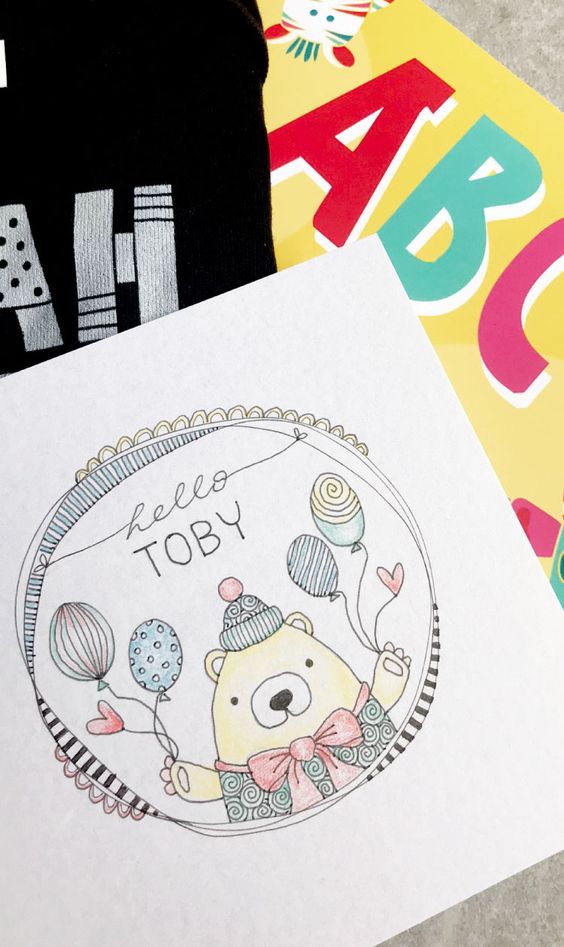
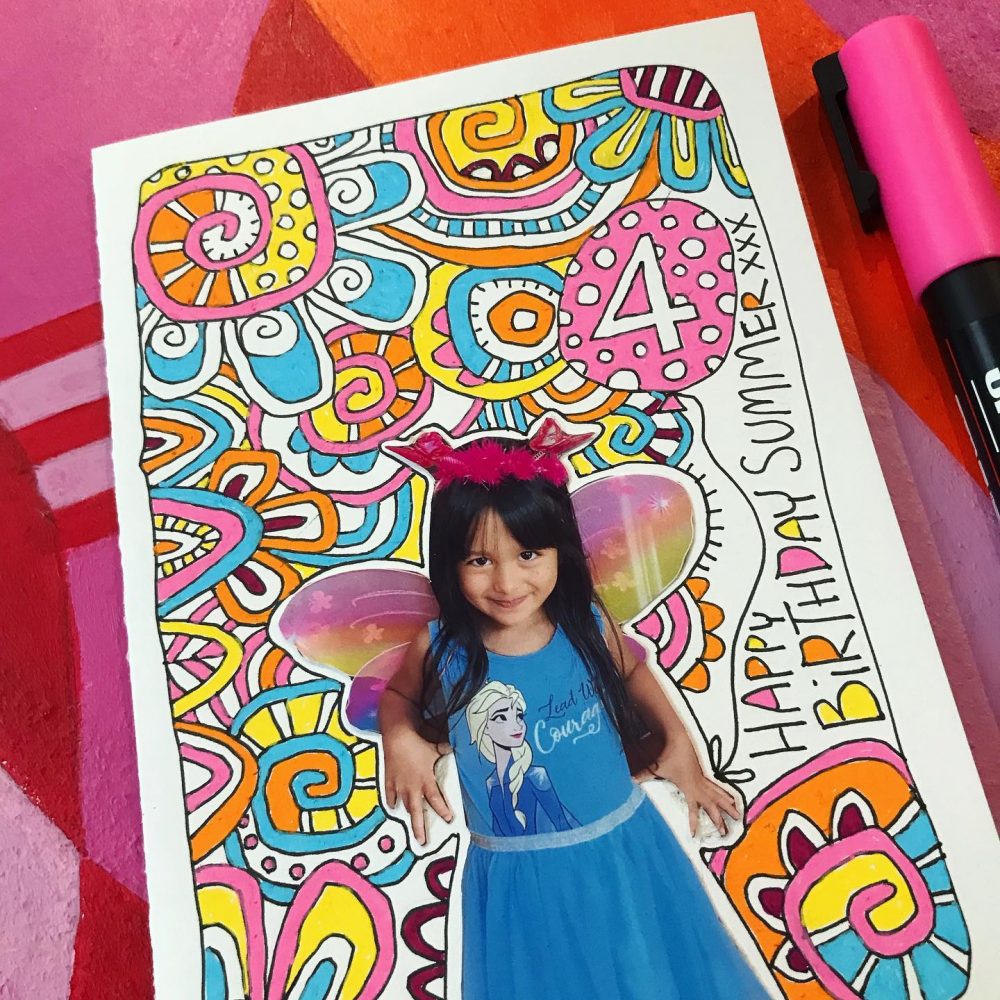
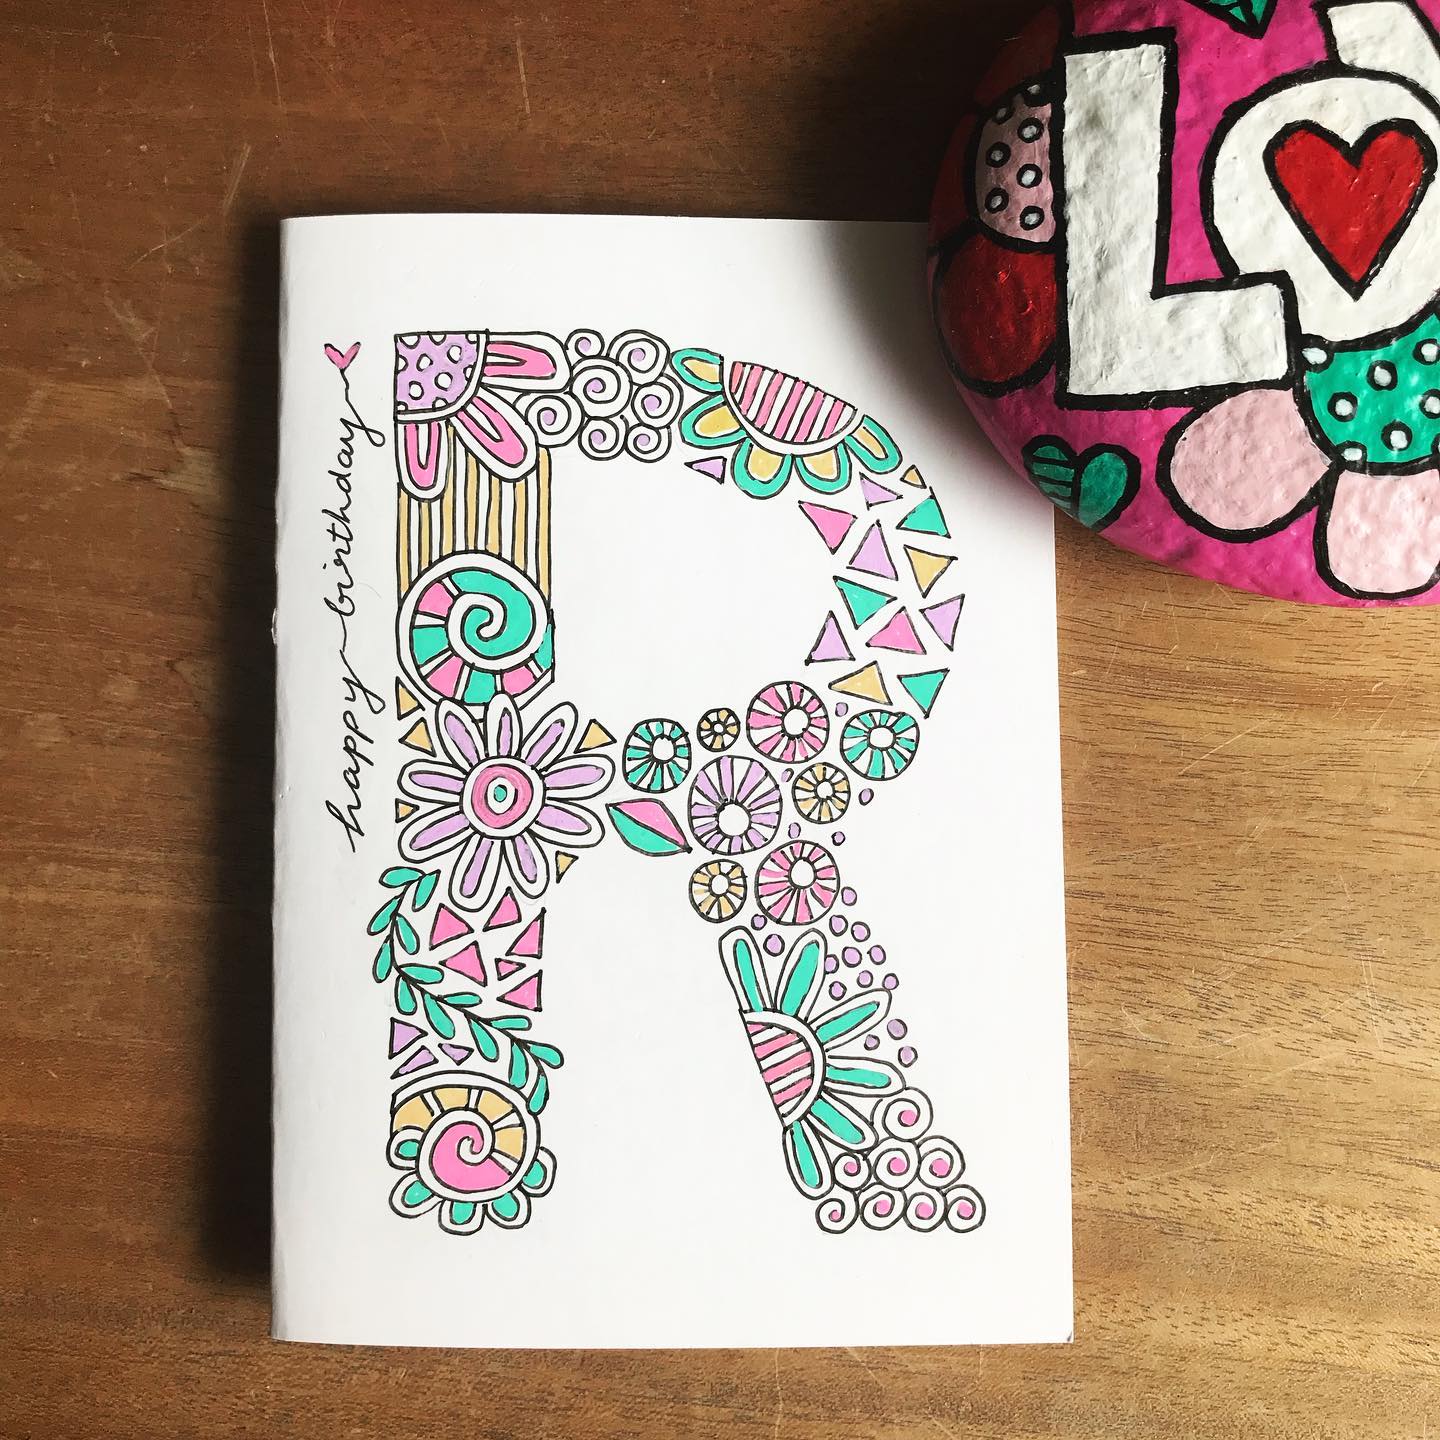
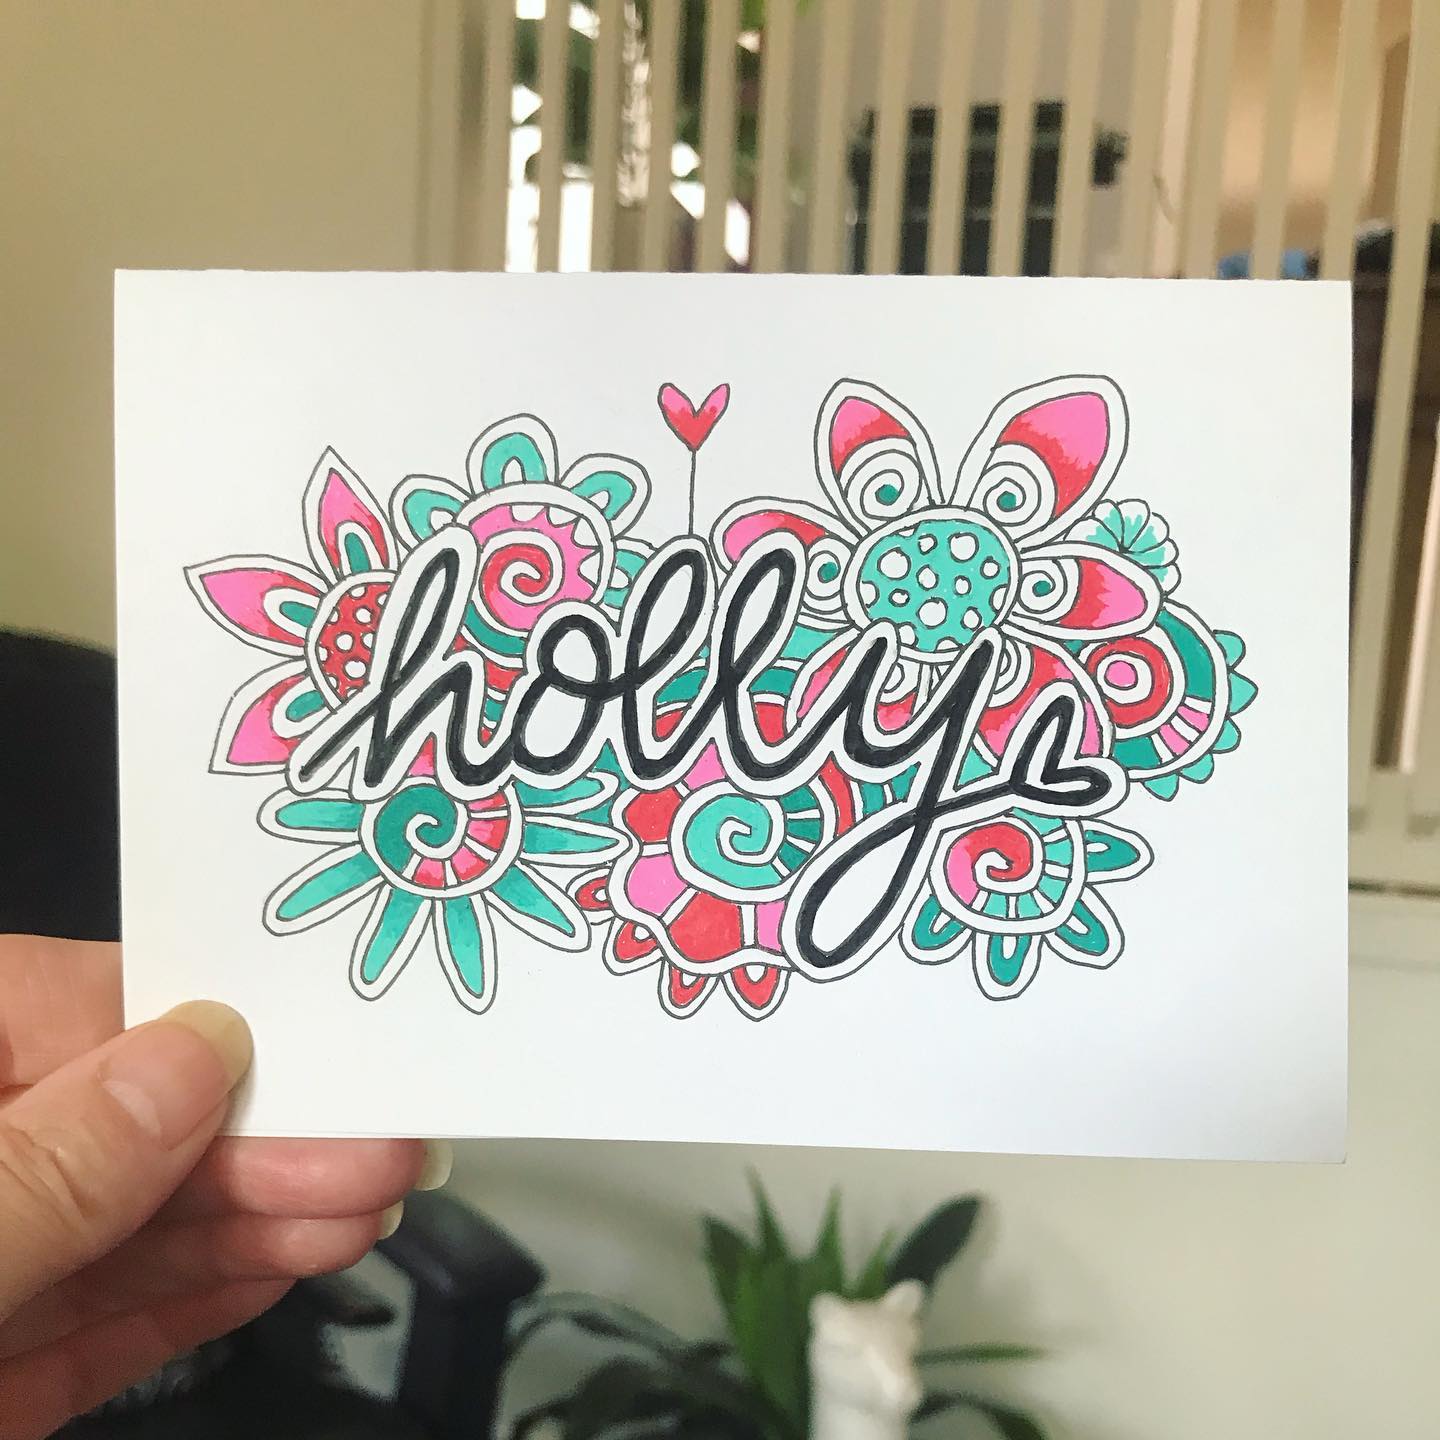
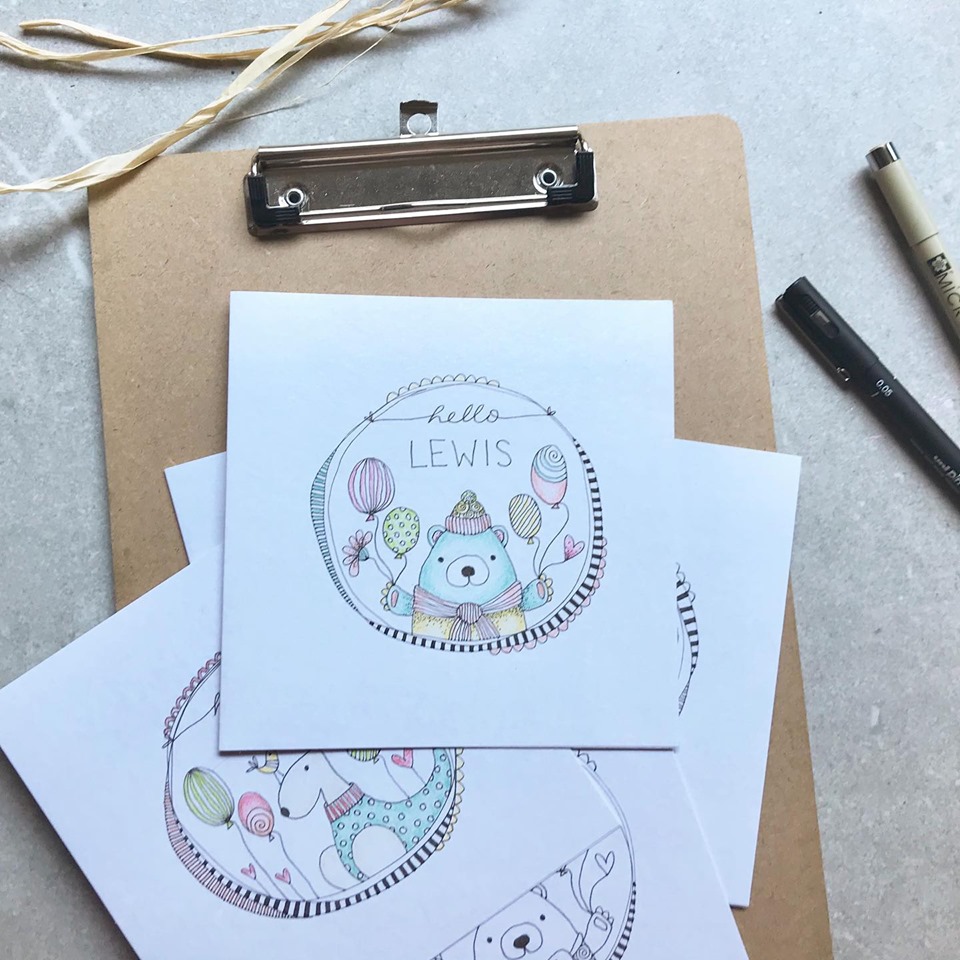
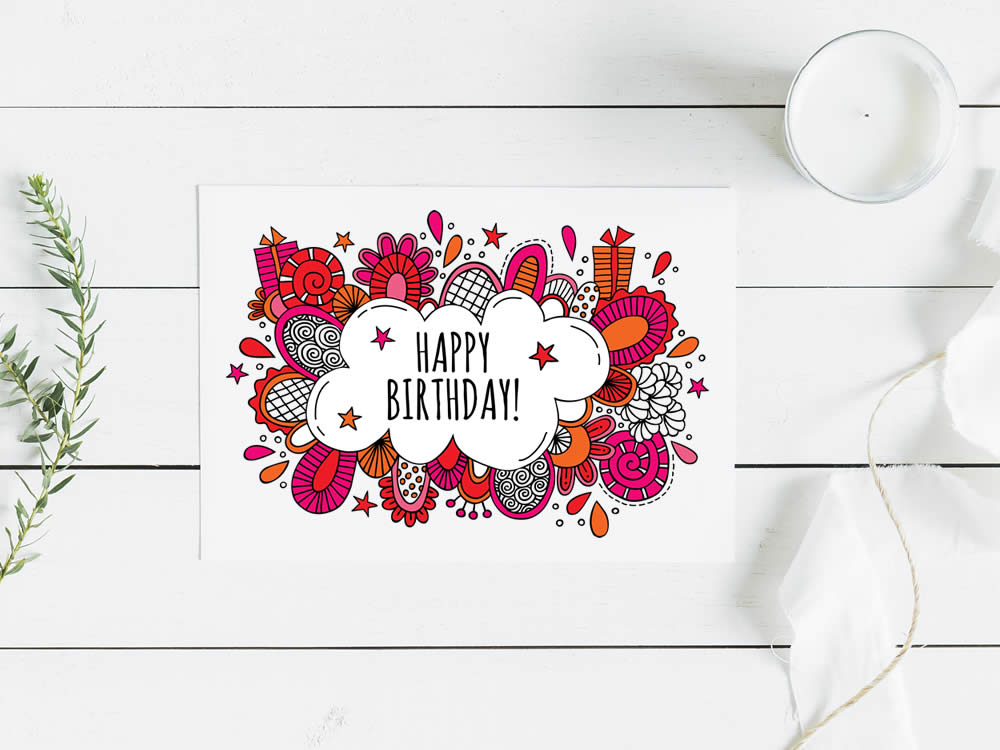
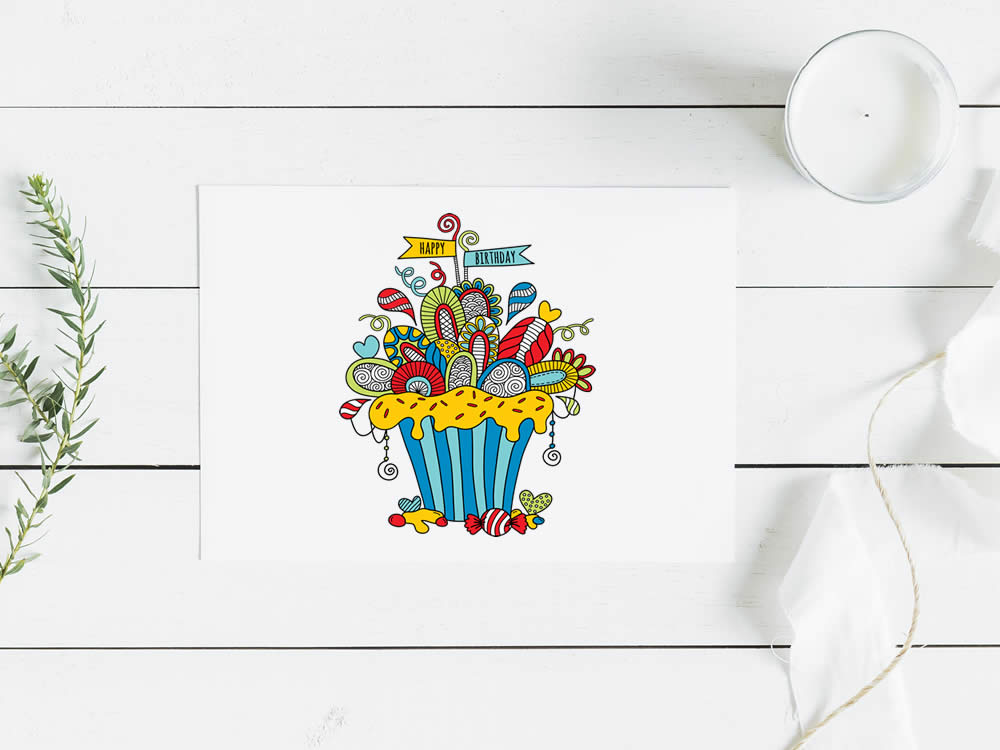
If I am going to draw a design I will sketch it out lightly in pencil first, then when I am happy with the design and the layout I will use my fineliner to make the outlines. I lightly erase the lines so they can’t be seen and then fill the spaces with doodle shapes. Sometimes I leave them just in black and white and sometimes I add colour. Coloured pencils, sharpies, posca pens and life of colour pens are great for this.
You can search on Pinterest for inspiration and to look for some witty ideas.
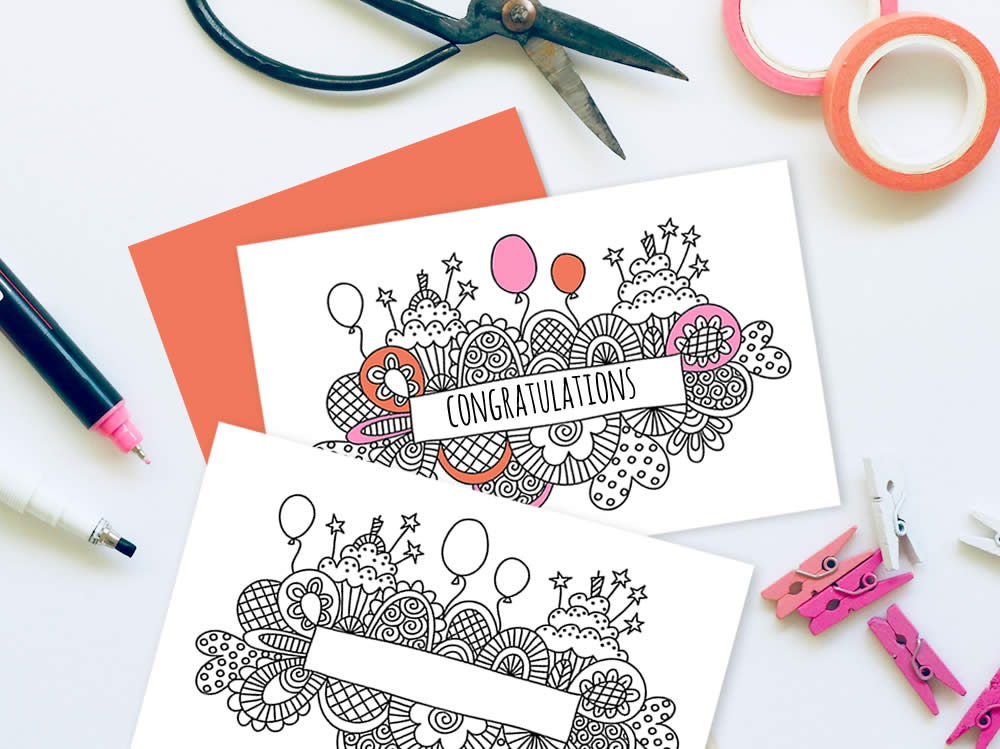
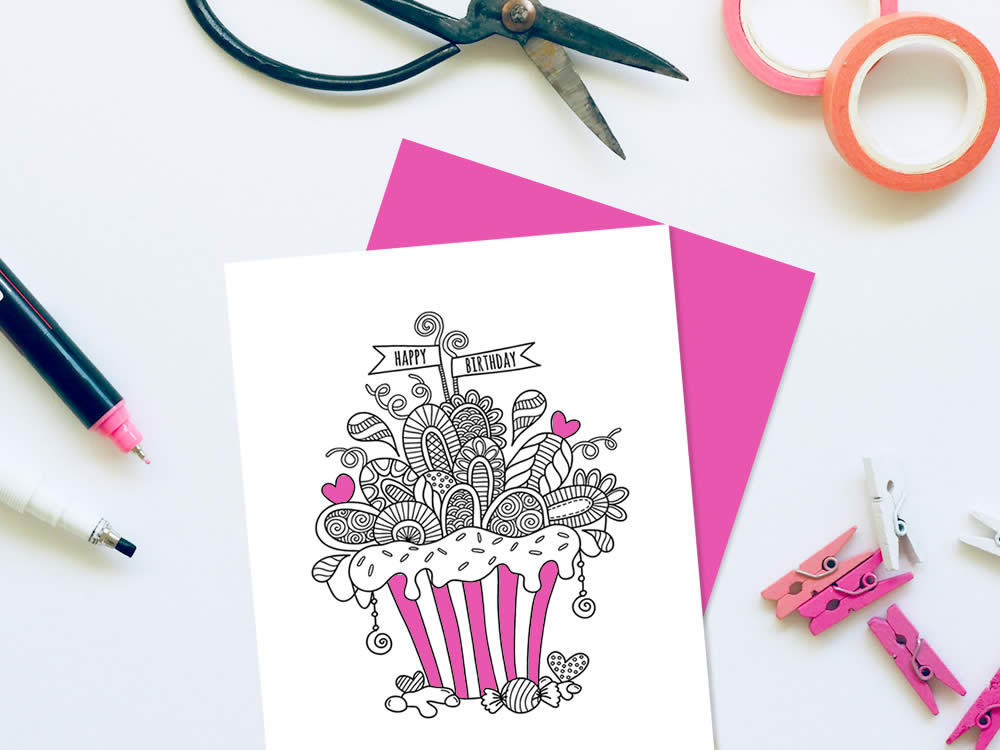
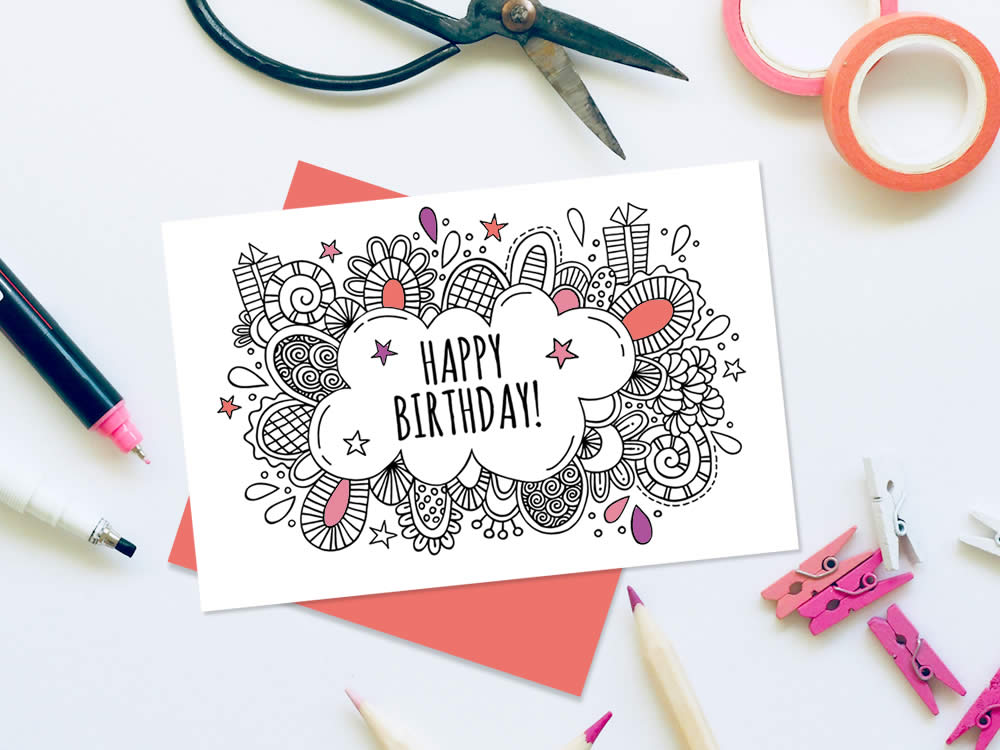
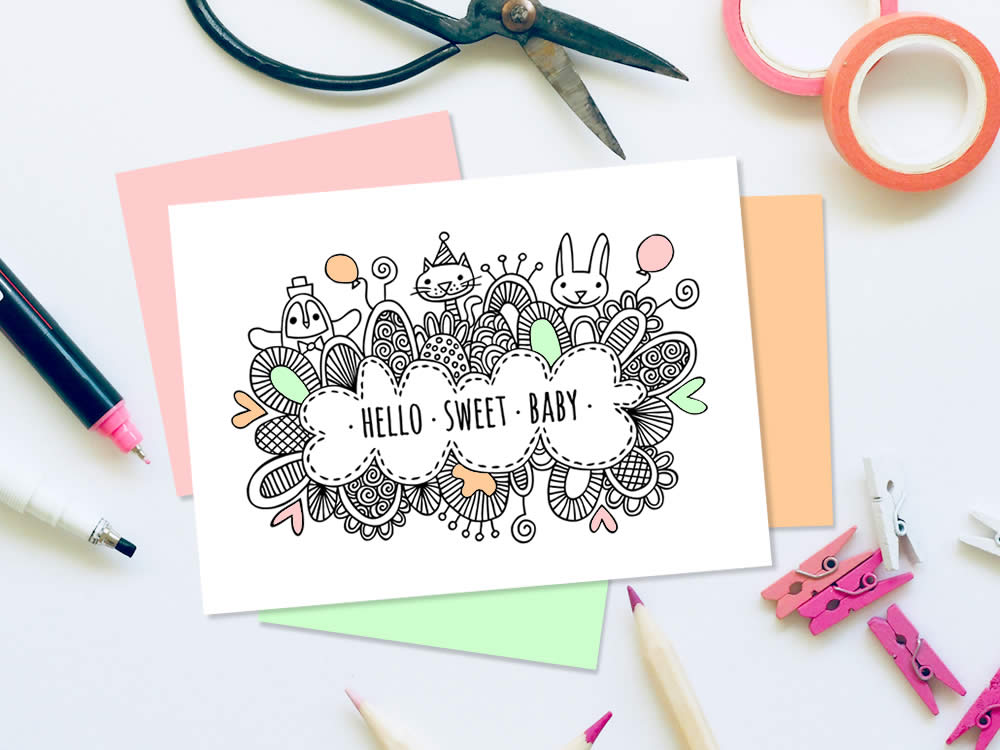
If you need some help we have digital stamps (black and white designs) that could form the base of your design. Print them out, colour and decorate to suit, trim and glue.

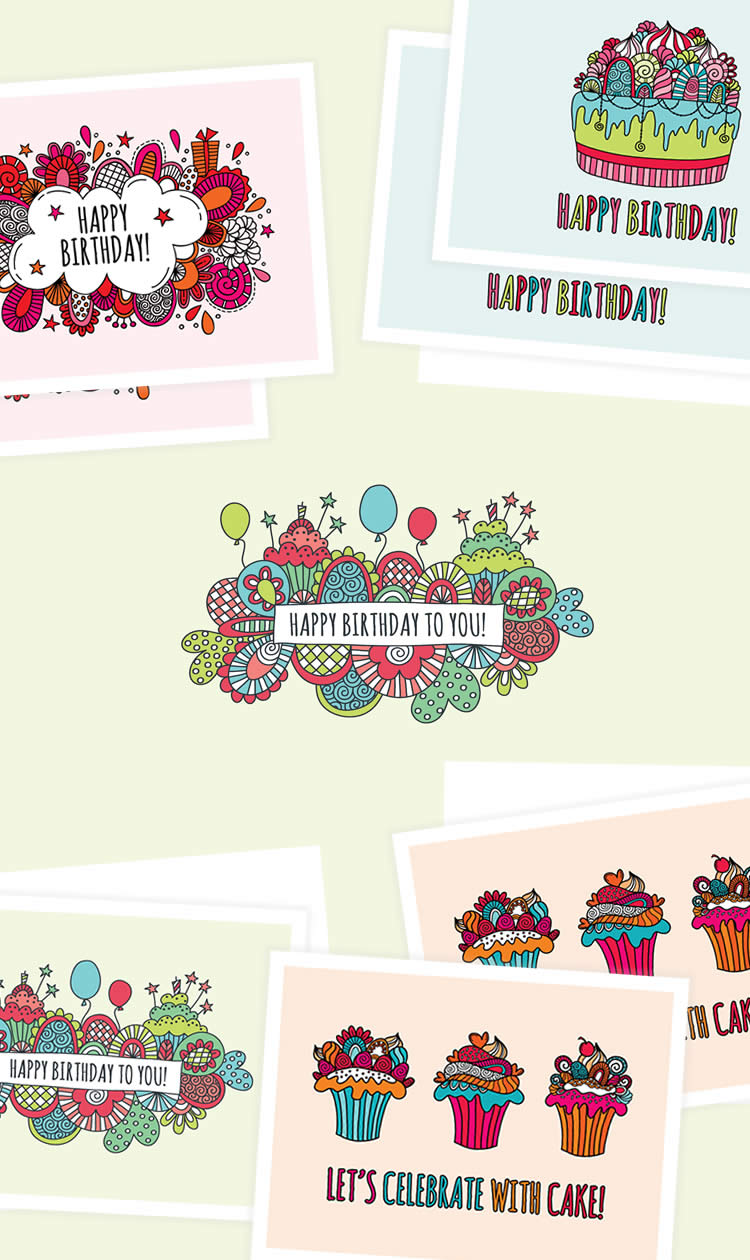
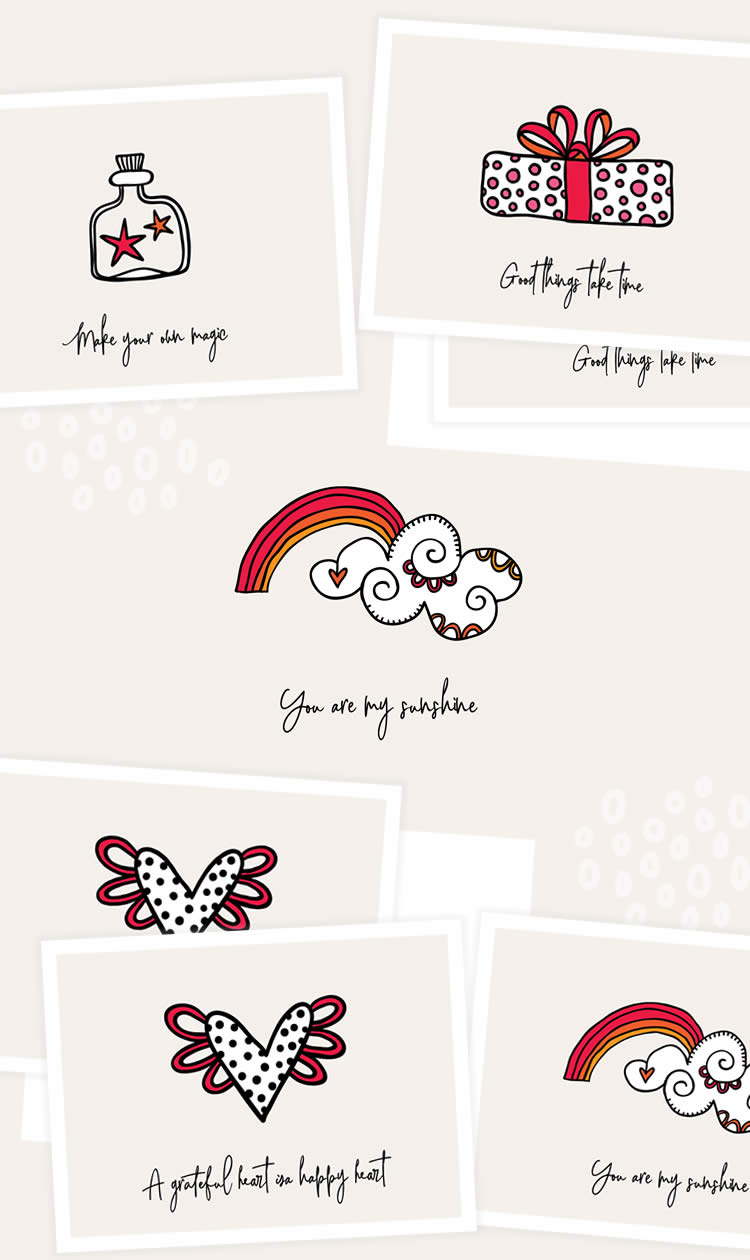
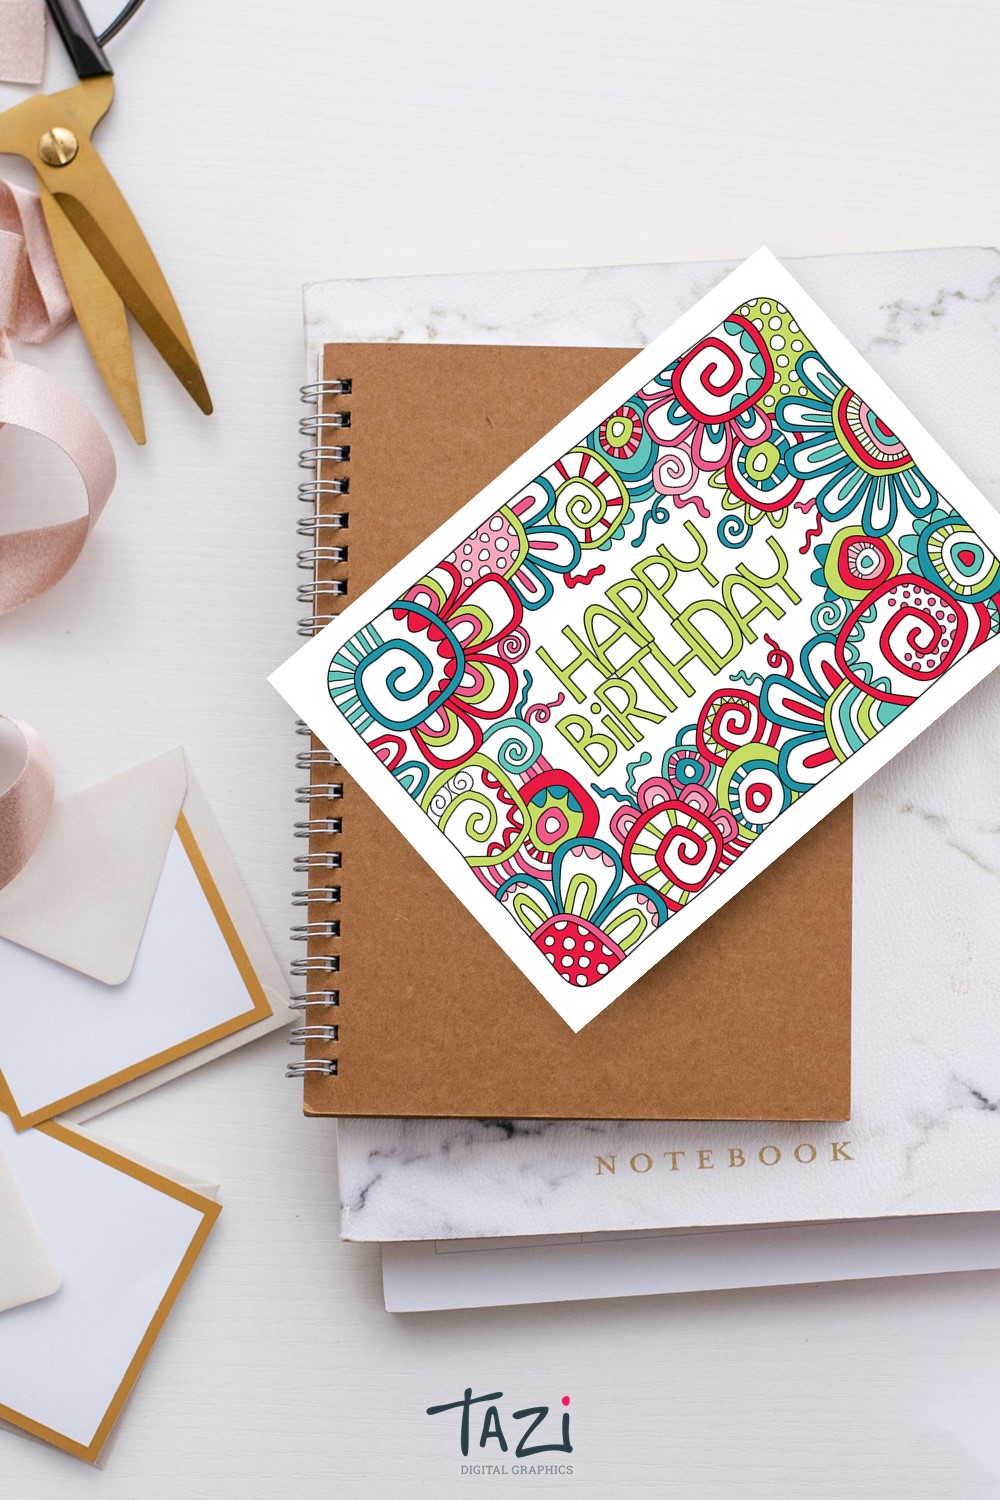
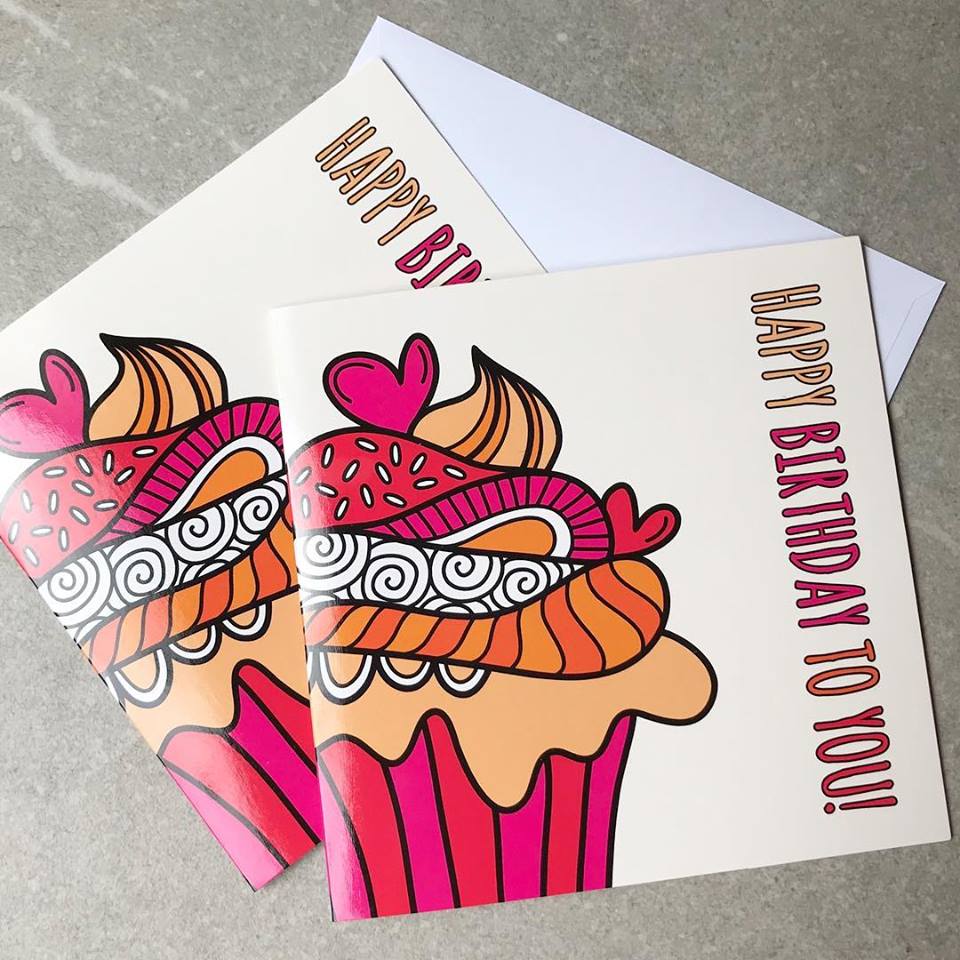
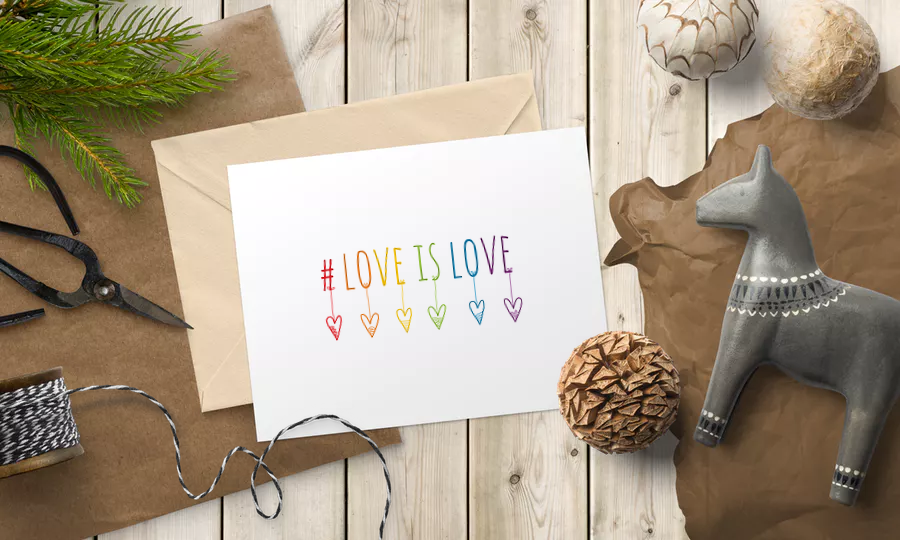
We also have a lovely selection of full colour graphics that can be printed as postcards onto card stock, or print them out on a lighter stock, trim and glued on to your card stock.


Add some text
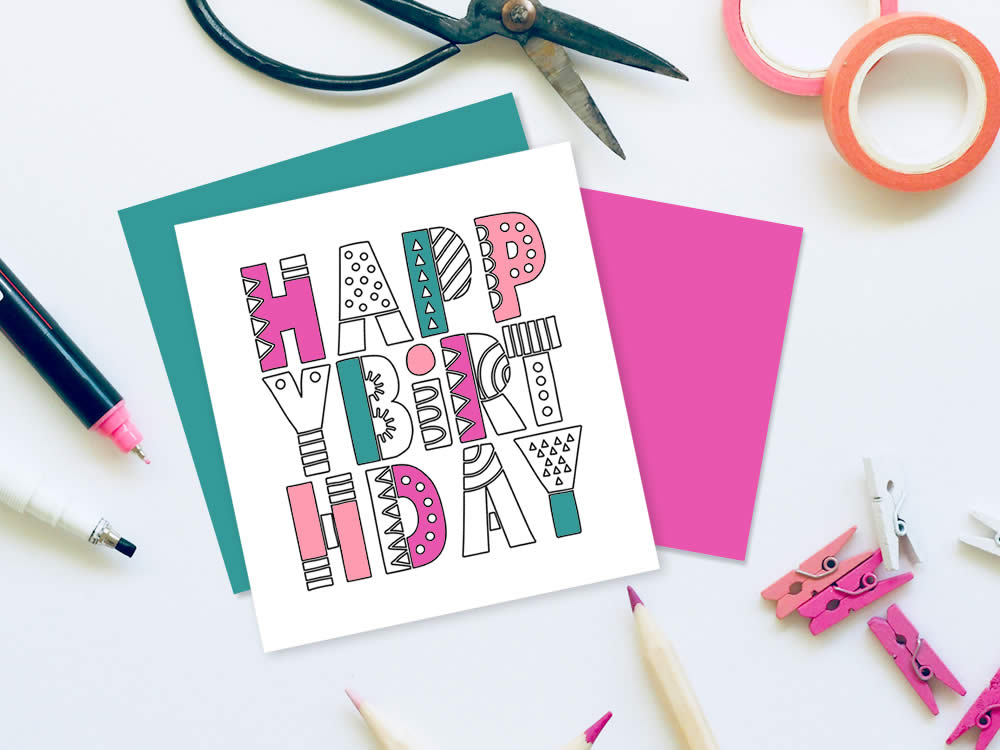
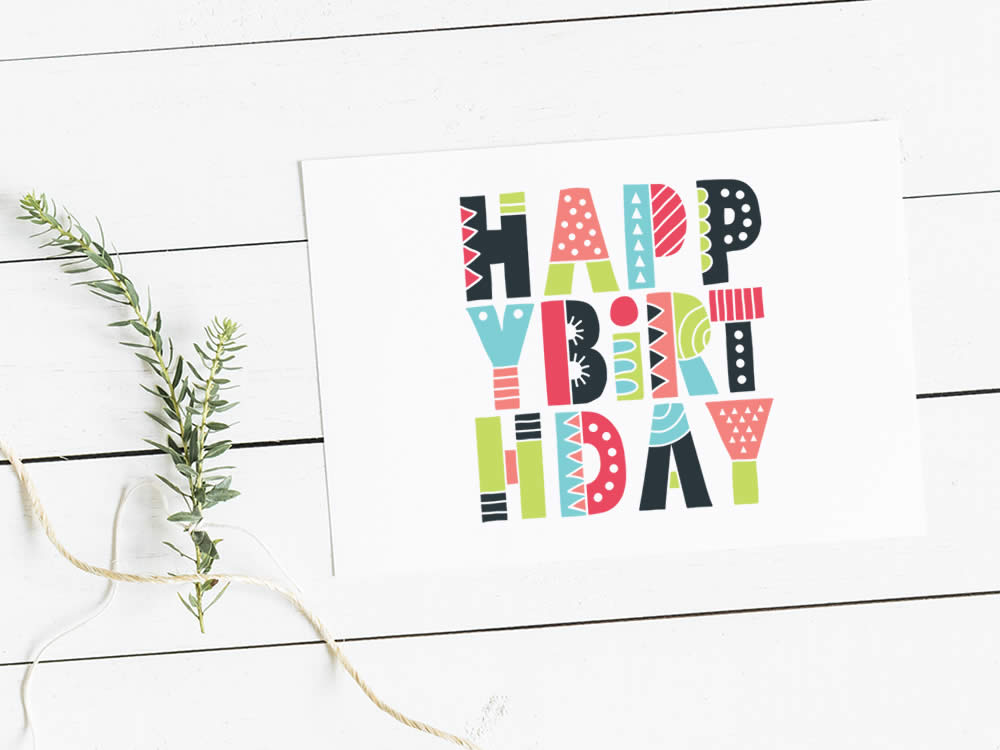
You can add a simple greeting on the front such as:
- Happy Birthday
- Let’s Celebrate
- Look Who’s 1/18/40
- New Baby
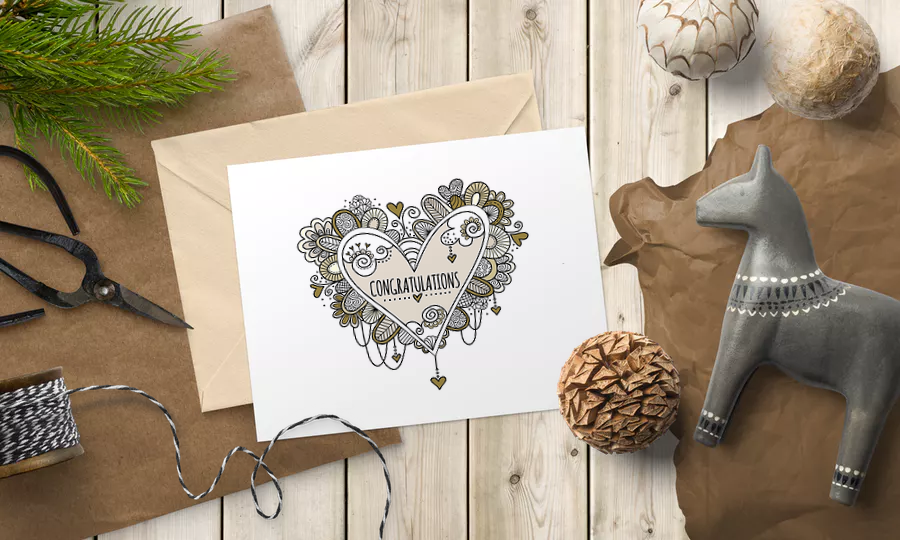
- Congratulations
- Name
- Age/number
On the inside you can write something more personal and relevant:
- Wishing you a very happy birthday!
- Warmest wishes on your special birthday!
- Hope today’s filled with all your favourite guilty pleasures!
- Another year older, and you just keep getting better!
- Happy birthday to one of my favourite people on the planet!
- Warm wishes and love on your birthday and always!
- Hope your day is full of fun and celebration!
- Sending you warm birthday wishes and a big cosy hug!
- We’re not getting old, we’re getting awesome!
- More birthday greetings here >
You might like to decorate the inside and the back of your card. It is a nice touch to add a sticker or put your signature on the back so the recipient knows who made it.
Find an envelope
Place the card in an envelope that fits the size of the card. If you have trouble finding one, you could make one out of gift wrapping paper. Here are some good instructions on WikiHow. If you have time, why not also decorate the envelope!
Make a card on the computer
You can also use digital graphics to create your own card to print out at home or upload direct to an online card printer (such as VistaPrint) to print out professionally as a card. All of our graphics are high resolution and perfect for both digital and print use, and can be used within most software or apps (Photoshop, Word, Indesign, Canva, Social Media etc).
Depending on your skills, you can use software to add your own text, position the graphics and add your own touches. If you don’t want to print out your design, you can save it as a jpeg and use it on social media or send it via text message. The options are endless!
Well, I hope I have inspired you to have some fun and get creative with DIY Greeting Cards. I would love to see your creations—tag me on instagram @taziart and #tazigraphics