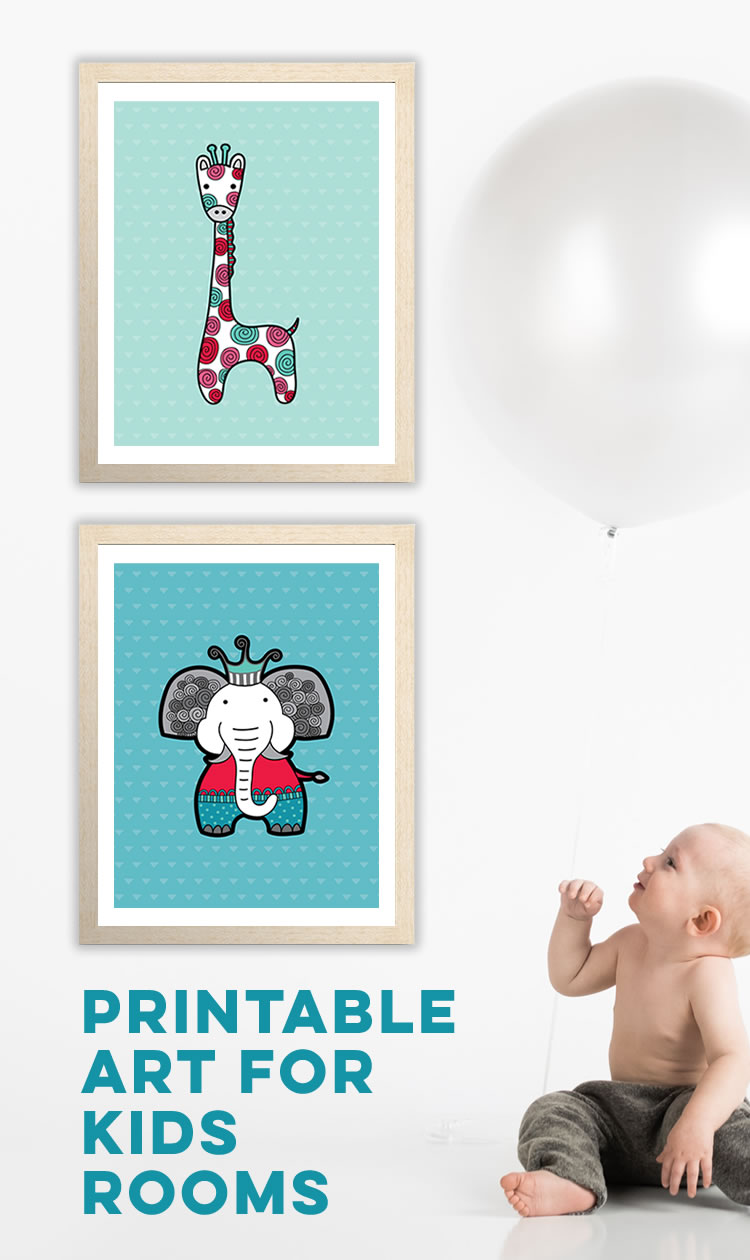
Want an affordable way to make a gallery wall with ‘wow’ factor?
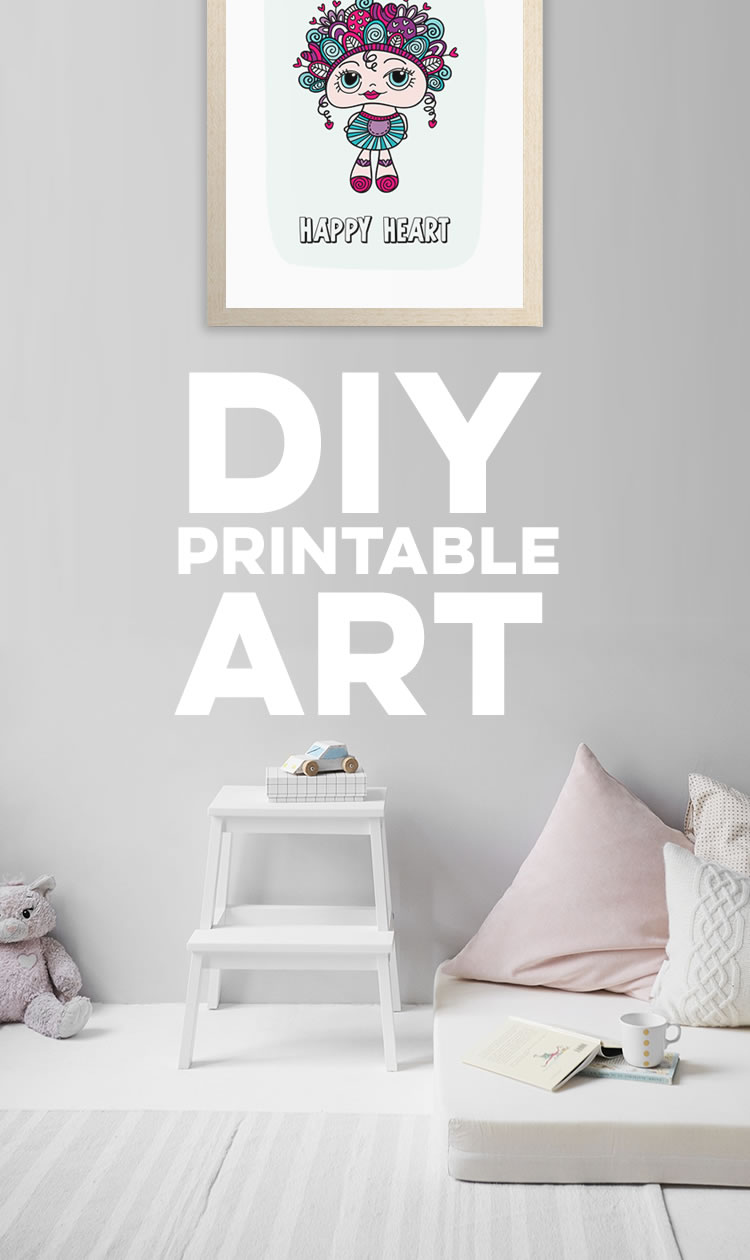
Printable art is an easy and inexpensive way to create your own gallery and brighten up an empty wall in the nursery, bedroom or living area. It’s so easy, just choose your favourite designs, add to cart, print them out and put them on display.
Your art will come as a downloadable digital pdf file via a link in the order email. This is a high quality CMYK 300dpi (dots per inch) file that will print out crisp and clear at the dimensions chosen.
Once you download the file, you have the choice of printing it out on your home printer, or for a more professional result, choosing a local print shop like Officeworks or Kmart, or ordering online via a print service like Vistaprint or Snapfish. If you are in the USA or Canada, you can have your art printed at Staples, Walmart, or Fedex printing services.
These printers often have sales and usually offer a range of print options like paper, canvas or wood plus framing options to make the art look fabulous.
Printing at home
If you are printing at home I would personally recommend using a minimum of 200gsm white matt cardstock with the print quality on ‘best’. Colours may vary slightly due to monitor settings, colour settings, paper stock and printer. The quality of the print will depend on both the quality of paper and your printer.
How to choose the layout
Step One
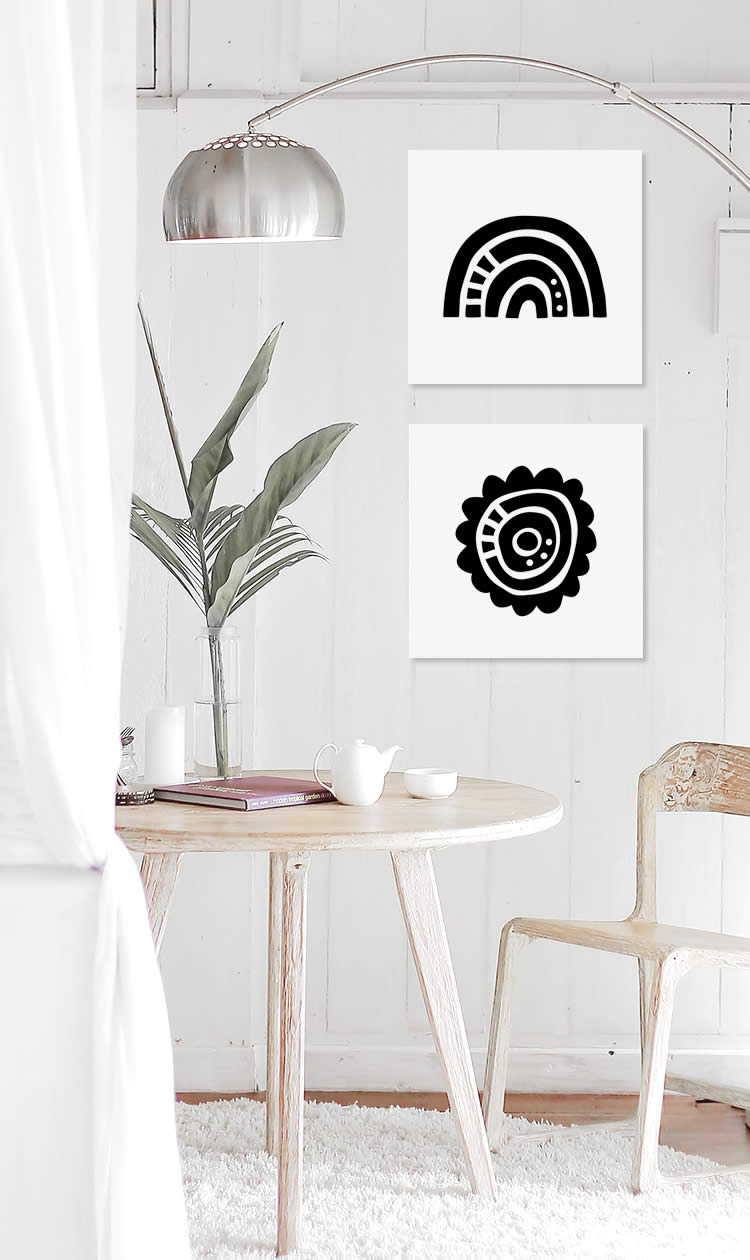
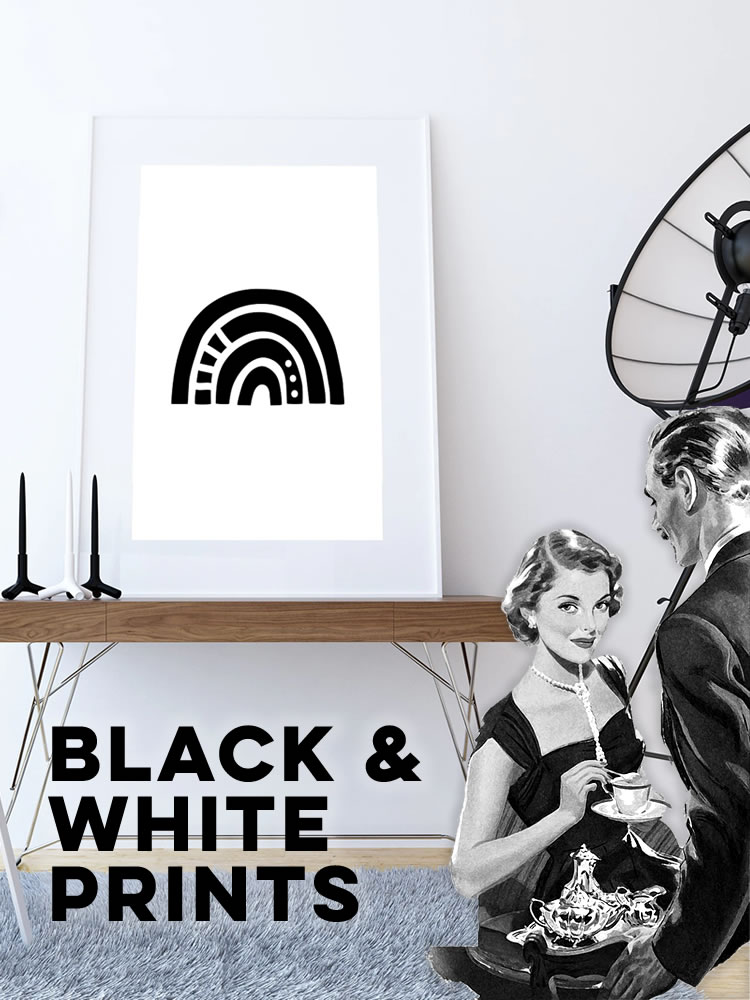
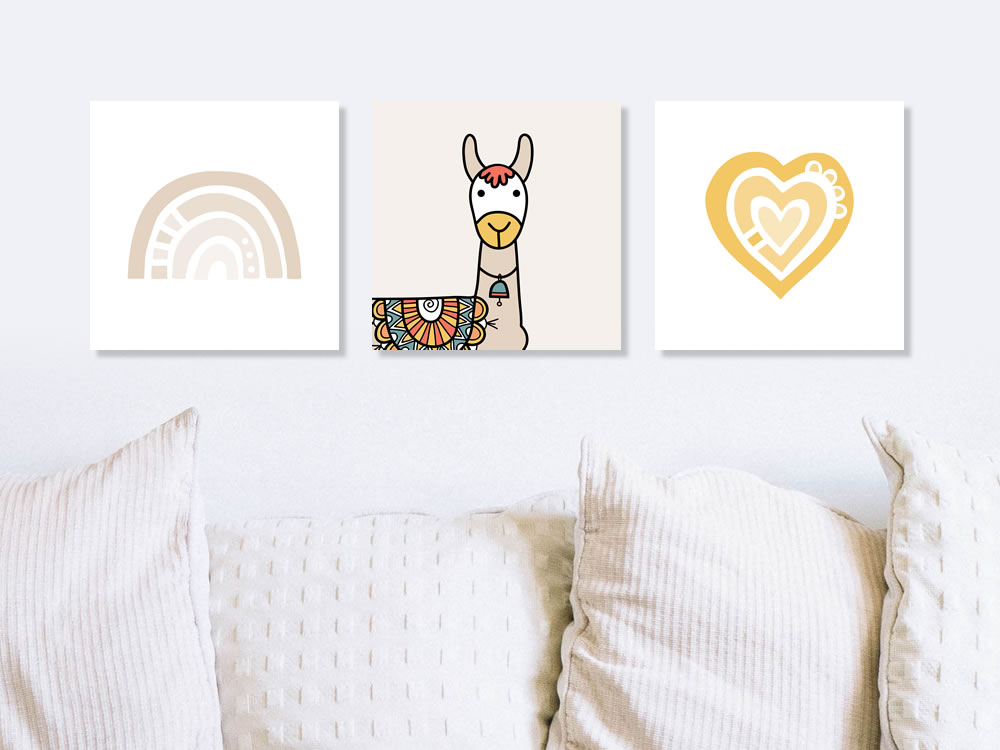
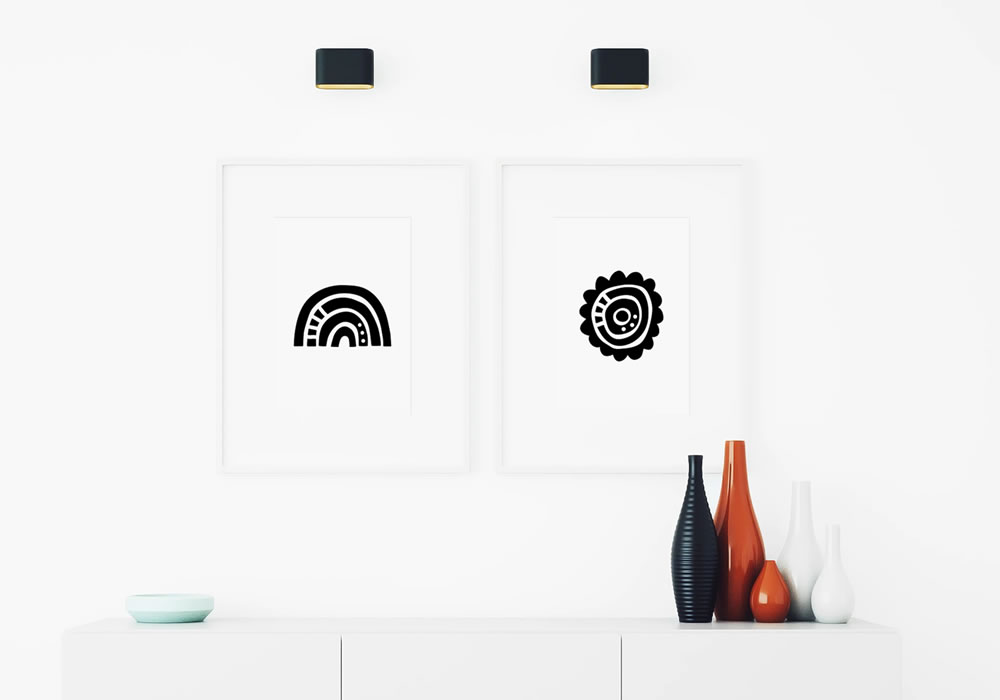
Choose the art and have it printed/framed. They do not have to all match in size or finish, but it is nice if there is something to tie them together such as a colour eg. all black and white prints. You could add a few with frames for an eclectic mix.
Step Two
Lay them all out on the floor and move around till you get a nice balanced look, then a great tip is to take a photo so you have a reference.
Step Three
Start with the bottom row first, so you get the height right. It is best to use a spirit level to hang the first couple of pictures so the display does not look crooked. I find these Command strips easy to use and really useful for most light-weight frames and canvases.
Step Four
Uniform spacing will look classy and stylish. 6-10cm would be the ideal amount of space and if you cut painter’s tape or masking tape to this length they can be used as spacers between each picture and it will make the job a bit easier.
Step Five
Step back and admire your handy work! You can always add more later or replace some when you need to refresh the look.
Useful books on Amazon
- Inspire Your Home: Easy Affordable Ideas to Make Every Room Glamorous
- Homebody: A Guide to Creating Spaces You Never Want to Leave
- Home Is Where You Make It: DIY ideas and styling secrets to create a home you love – whether you rent or own
- The Little Book of Life Hacks: How to Make Your Life Happier, Healthier, and More Beautiful